I am honored to be part of Canon Pixma Bloggers’ team, thanks to the invitation by Janet from OMY.sg. And with that, I was sponsored with Canon Pixma printer, courtesy by Canon!
There are many unique features which I really love about them is that it can actually print photos or check printer status using your mobile or ipad, providing creative filters as well as having loads of creative resources for you to download! The freedom of printing mobility is really important to me because my table is so cluttered when I do my crafting, having to deal with so many things (papers, craft supplies, etc) on my table that I really have no space for my laptop. Being able to print straight from my handphone is really convenient for me. And next is being able to download resources from Canon Pixma’s Creative Park and Pixma Town, where you can download patterned papers, 3D objects, creating collages, etc. And it is absolutely free to public! Amazing isn’t it?
I will not be going into details about the technical aspects of it which you can read up at Canon website, because my main focus here will be to show you many creative possibilities of having Canon Pixma photo printer to your crafting advantage 😉 So follow my blog to get email updates or you can always visit back and look at the Canon Pixma Category to check out new posts!
* * *
For today, I’ll be trying out Creative Park’s patterned papers for my DIY Shadow Box. Let’s see how I put all of them together so you can try it out as well! Get you creative juices flowing and play around with the colours and words 😉
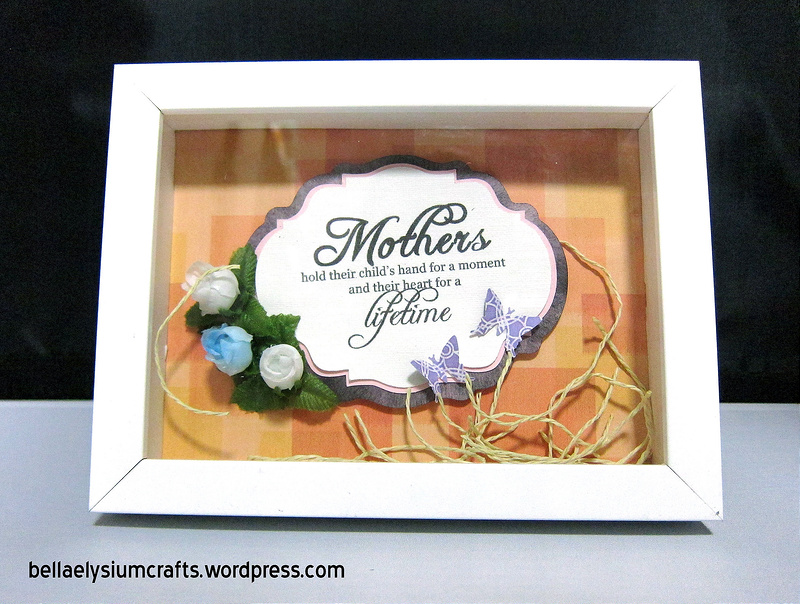
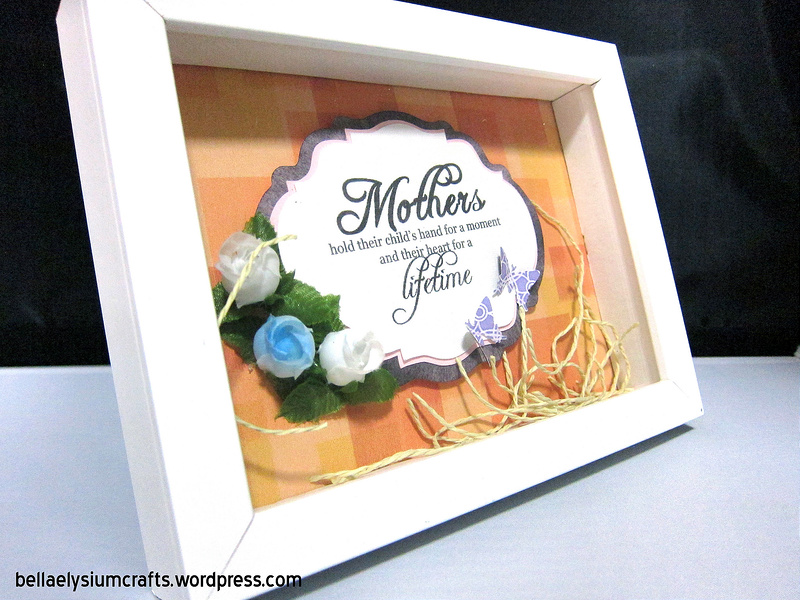
Shadow boxes always make a fantastic gift for family and loved ones because you can put in 3D objects in enclosed glass-front case, things that can create beautiful and lasting memories. These shadow boxes can then be hung up or displayed on table. I decided to make one for my mother as a Mother’s Day gift. Here’s how my shadow box looks like before I proceed on with the tutorial on making one.
So let get started on making one!
* * *
Materials you need:
- IKEA RIBBA Frame
- Foam Tape
- Glue
- Printer (I used Canon Pixma Printer)
- Embellishments
- Glazier Points
- Foam Core
- Pliers
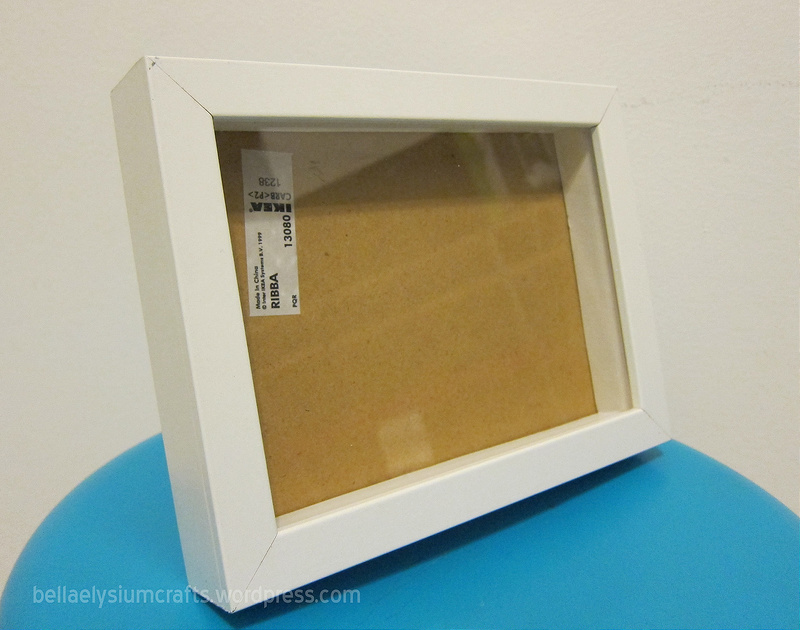
First you need a Frame with fat frame and I recommend IKEA RIBBA Frame. Buying a shadow box from crafts store is really expensive (The last time I check from a craft store…they selling empty shadow boxes for $35!) when you can simply make one yourself. I got a small IKEA RIBBA frame at less than $10.
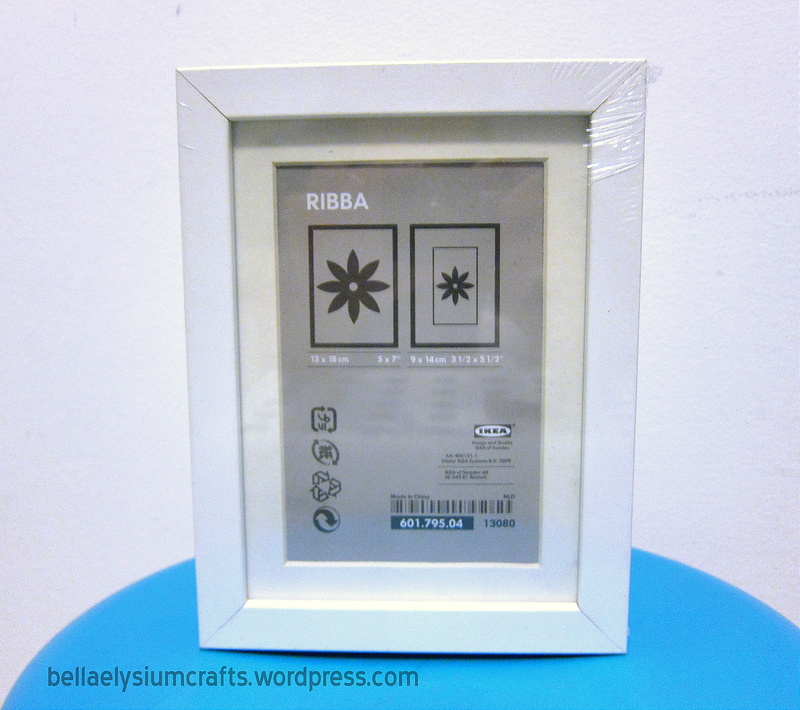
IKEA RIBBA Frame 5″ x 7″
I looked through Canon Pixma website to check out what kind of pattern papers I want and they have goregous wide array of designs and colours to choose from 🙂 Thanks to Canon Pixma, they actually come up with a mobile app for enabling you to print directly using your smartphone. I have saved some pattern paper designs when I was on my way home and I just print the papers directly from my phone using PIXMA Printing Solutions App. And really, it saves a lot of time rather then turning on my computer just to print it out.
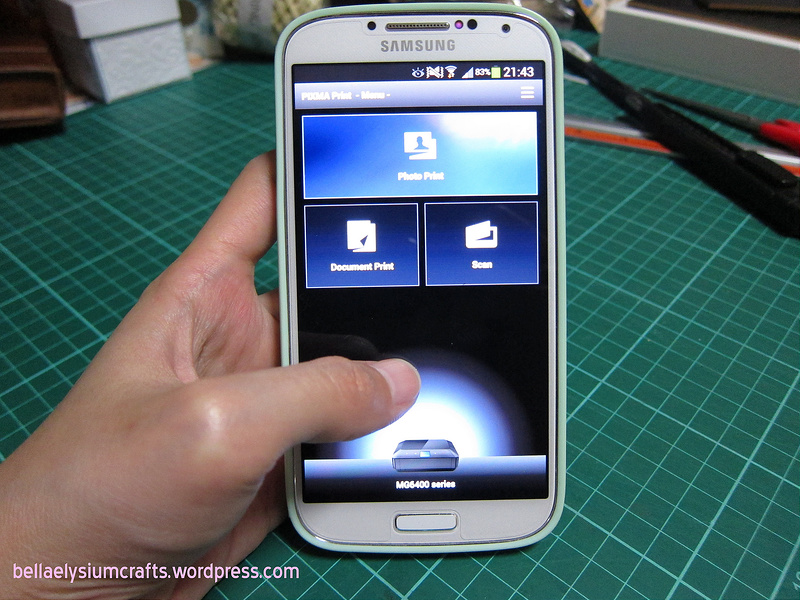
PIXMA Printing Solutions App
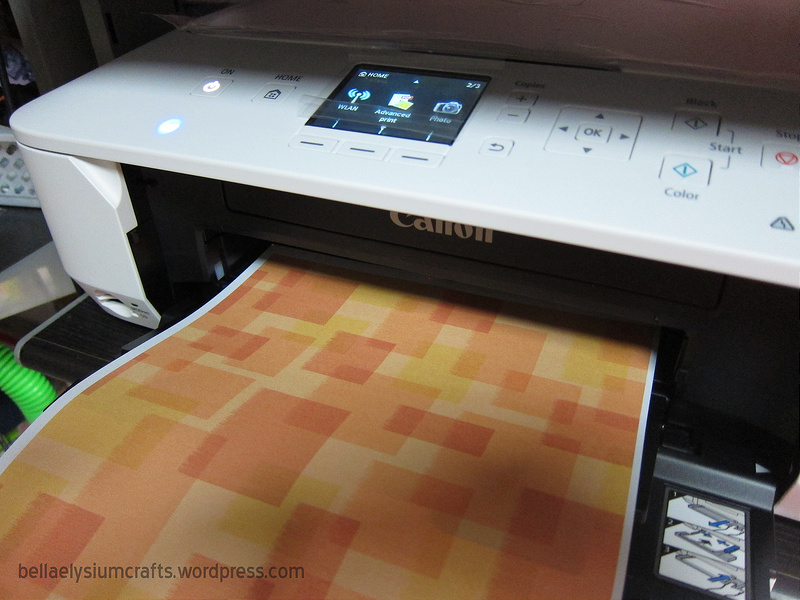
Pattern Paper from Canon Pixma Creative Park website
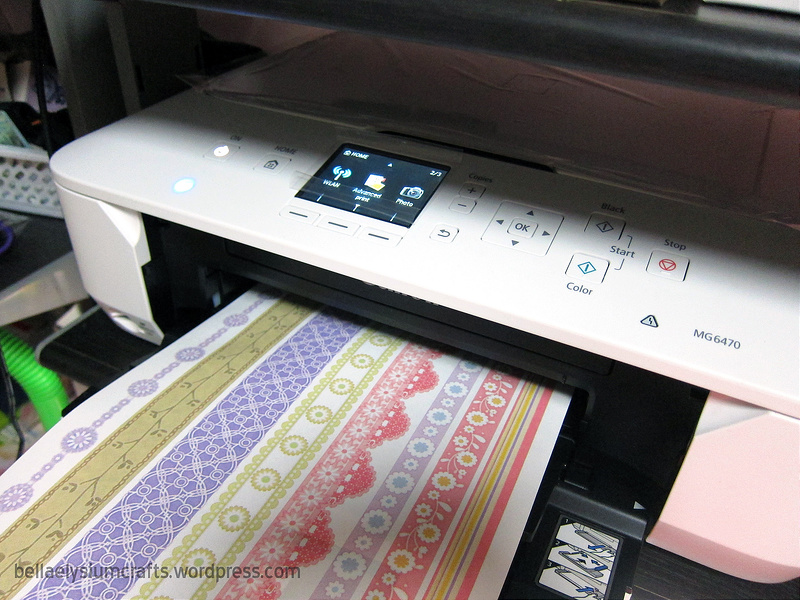
Pattern Paper from Canon Pixma Creative Park website
Putting them aside, now it is time to make a shadow box!
From the frame, carefully take out the glass pane and the backing of the frame and put it aside. So you will see something like this:
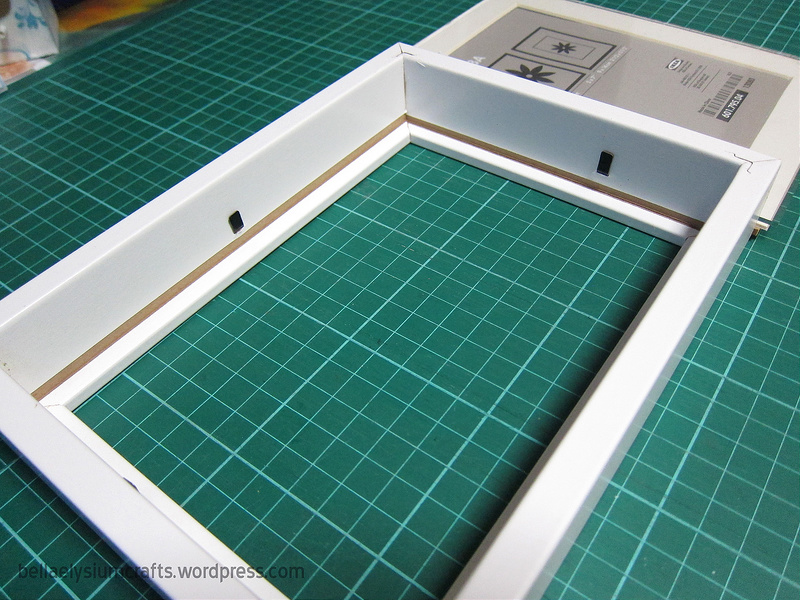
Inside the frame
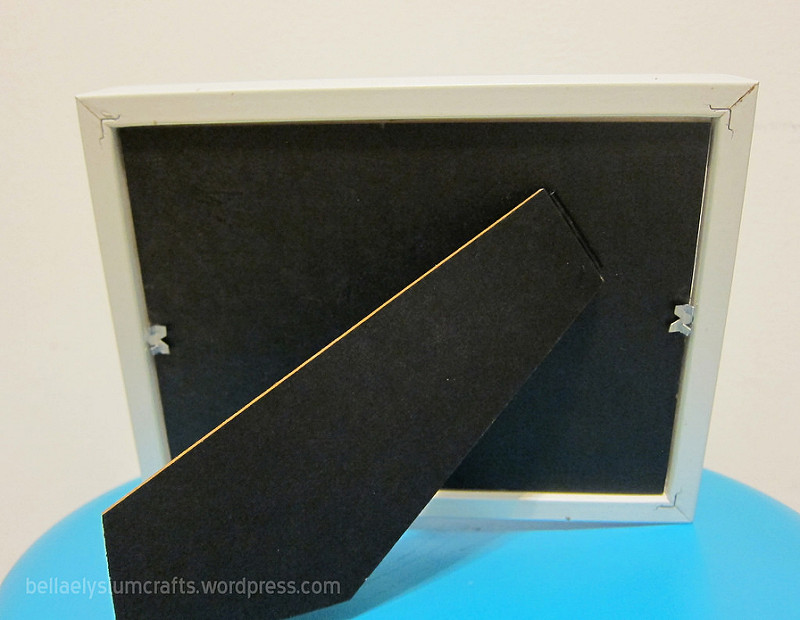
Extend out the black pins that hold the backing and use the pliers to pull out the black pins out of the frame by twisting and turning slowly before pulling outwards.
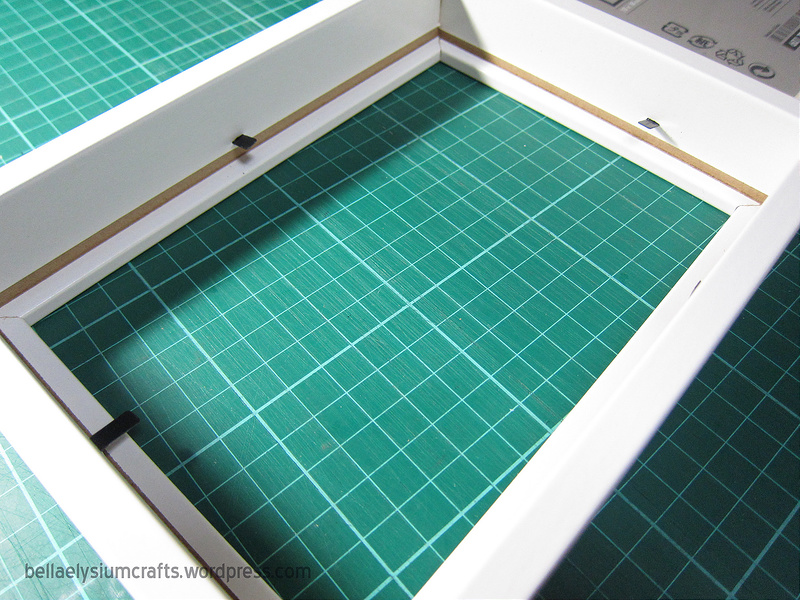
Extend out the pins
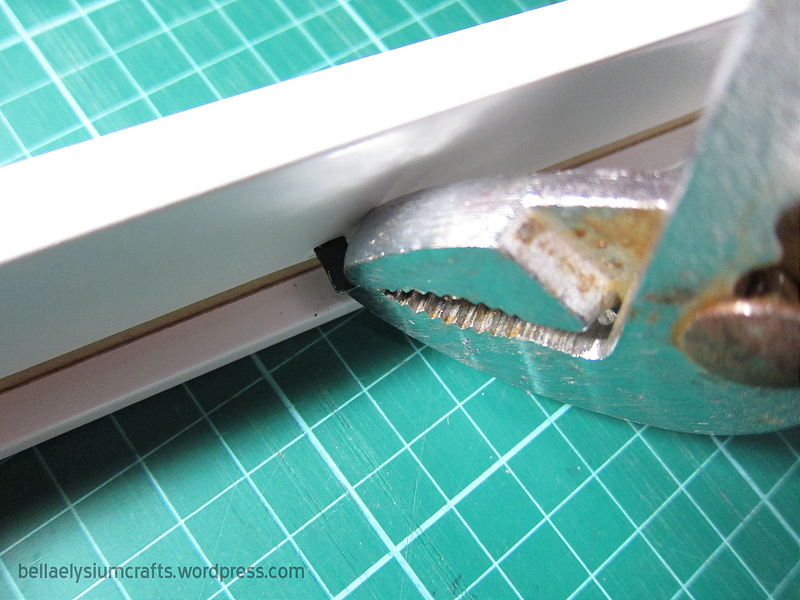
Use pliers to twist and turn and pull them outwards
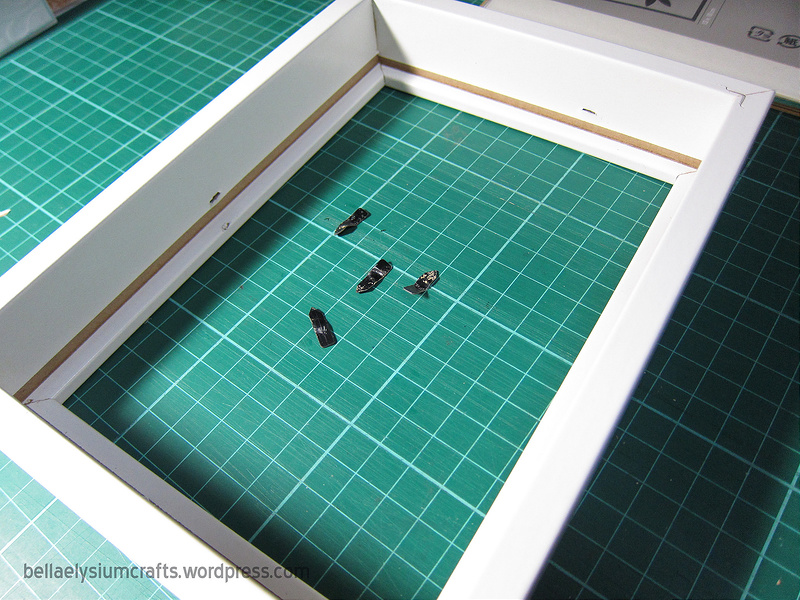
It will look like this!
Grab a ruler and measure the height of the interior of the frame. This is for putting foam core into the sides of the frame. This is up to you on how much “thickness” you want your shadow box to be, but please allow some allowance for your backing of frame and glazier point which I will explain more in details as I go on. For this, I allow myself to have about 1 cm allowance. And also measure the length of the sides of frame too!
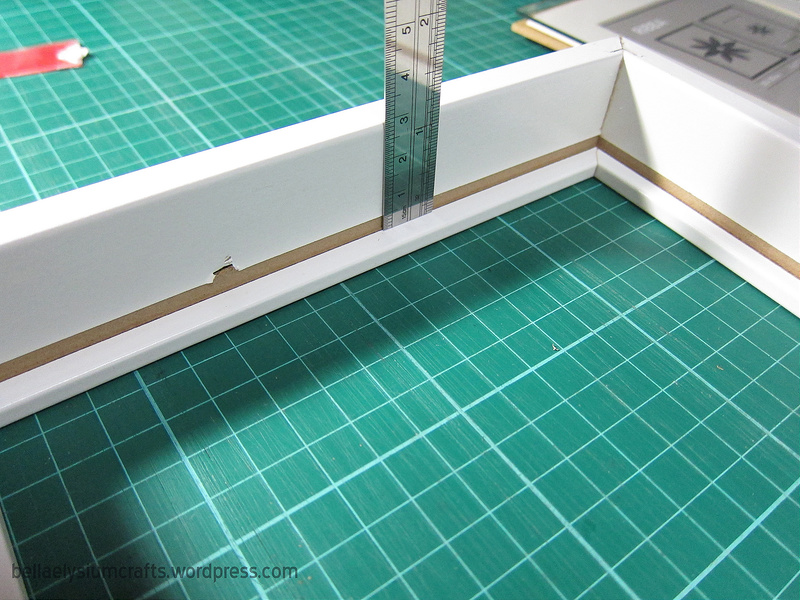
Measuring the depth
Draw on the foam core (You need 4 strips of the foam cores for the sides of the frame) and cut it out using your penknife and then assembled the foam cores into the frame, making sure that the four sides are all snug and tight. If they are not, you can use glue to glue the foam core to the sides. But personally for me, I prefer not to use glue because it is messy and I would like to change the core whenever I want to in near future. Hence, I will make sure my foam cores are very tightly arranged together at the sides to prevent them from slipping out.
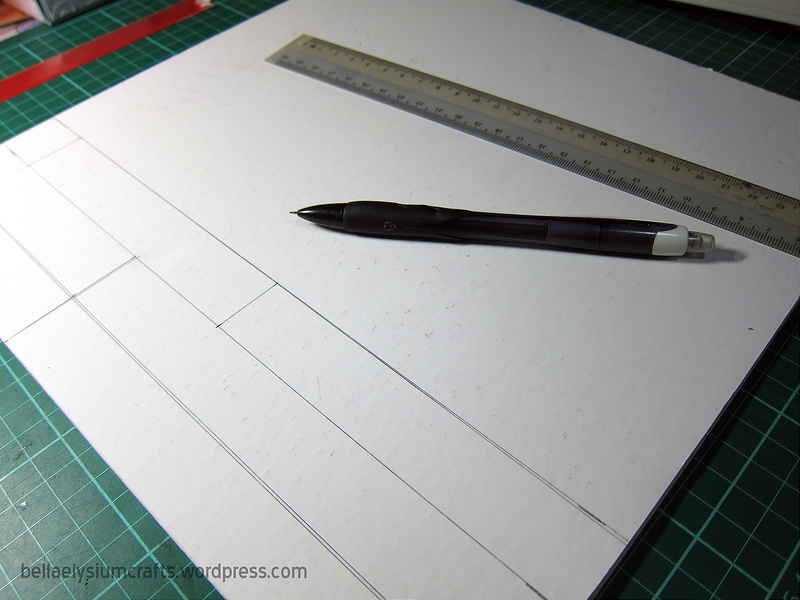
Draw out the necessary strips for the sides of frame
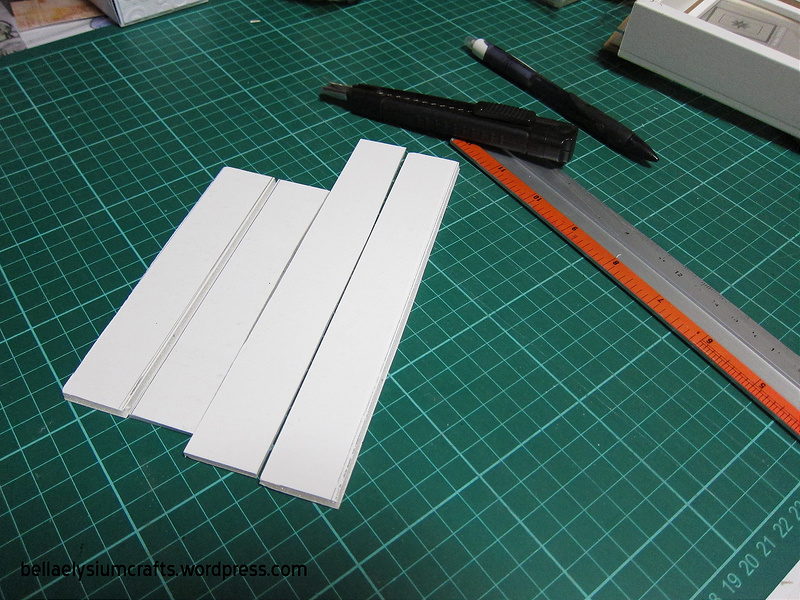
4 strips of foam cores
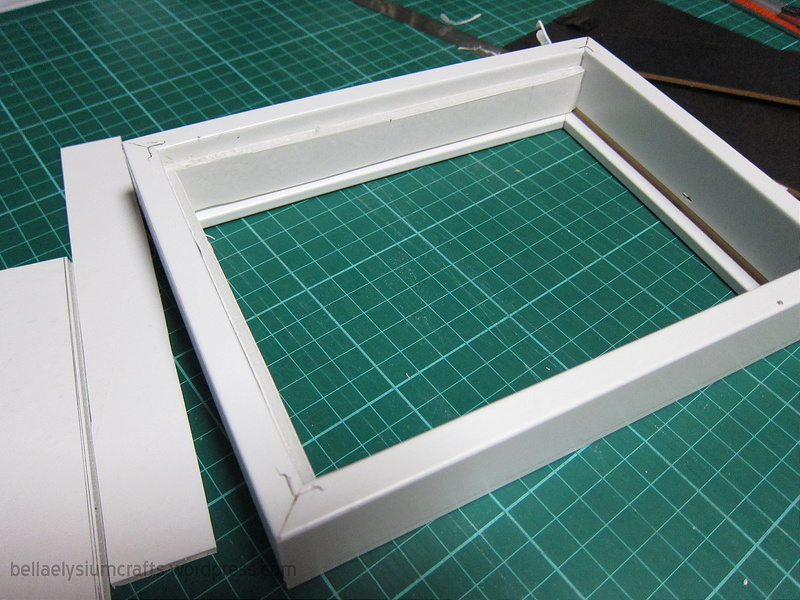
Assembling the strips to the sides of frame
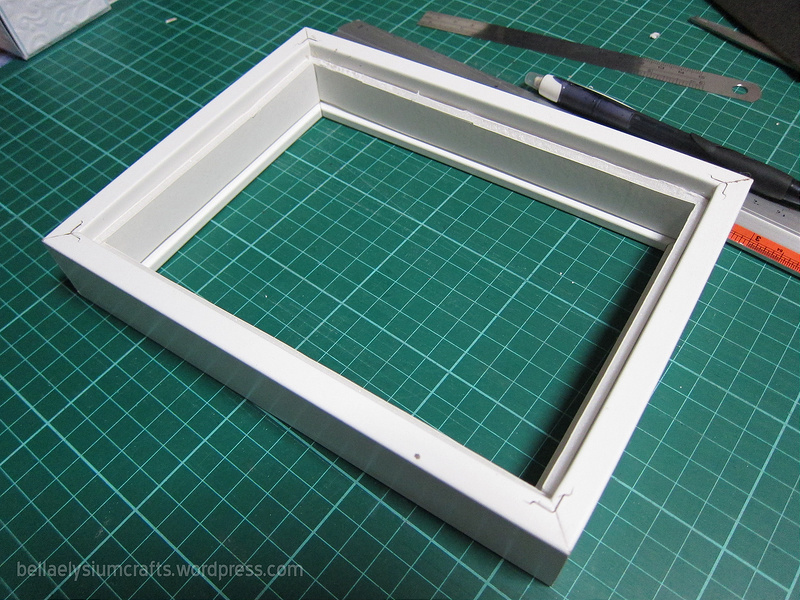
All four strips fitted into the sides of frame
NOTE: Please remember to put back the glass pane before gluing the strips to the sides of frame!
Now the next step is to fit the back panel onto the back of the frame. After which, you make a small slit for the glazier point to go through. Glazier points are meant for securing the panel to the frame, and you can find them at ArtFriend.
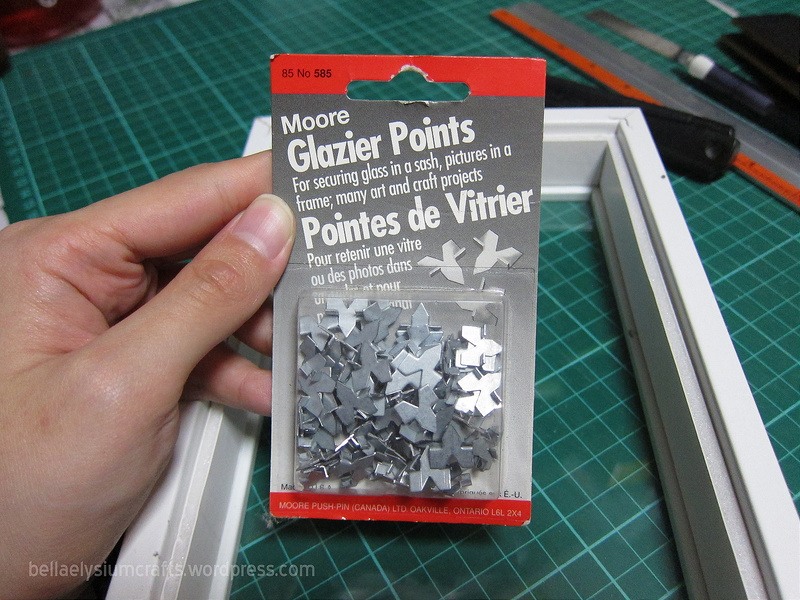
Glazier Points
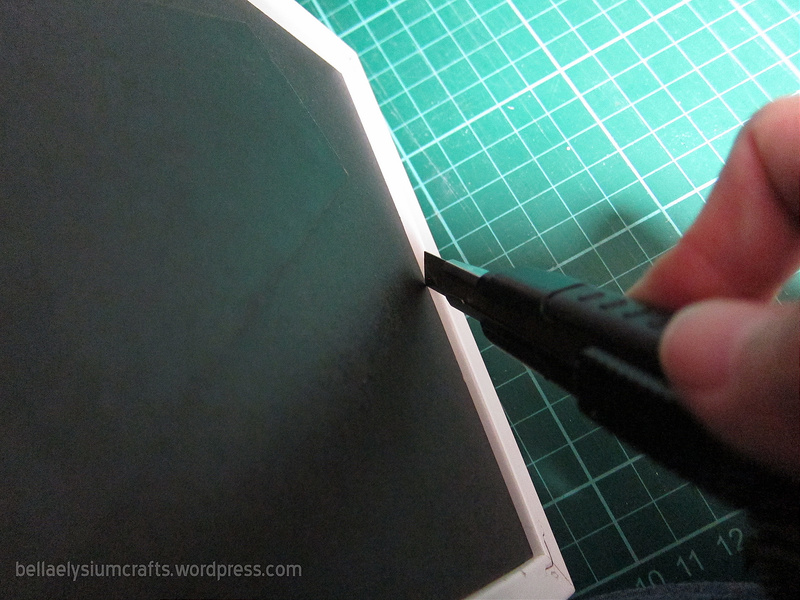
Make a small slit using penknife at the position where you want to place your glazier point
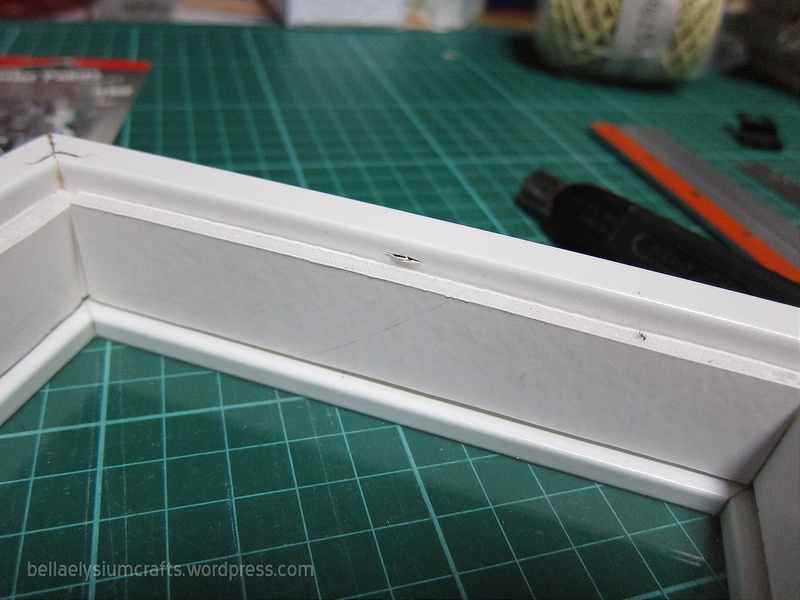
Slit for the glazier point to go in
Use any wide, flat head screw driver or the tip of penknife casing to push the glazier point down into the slit until it touches the base of the frame.
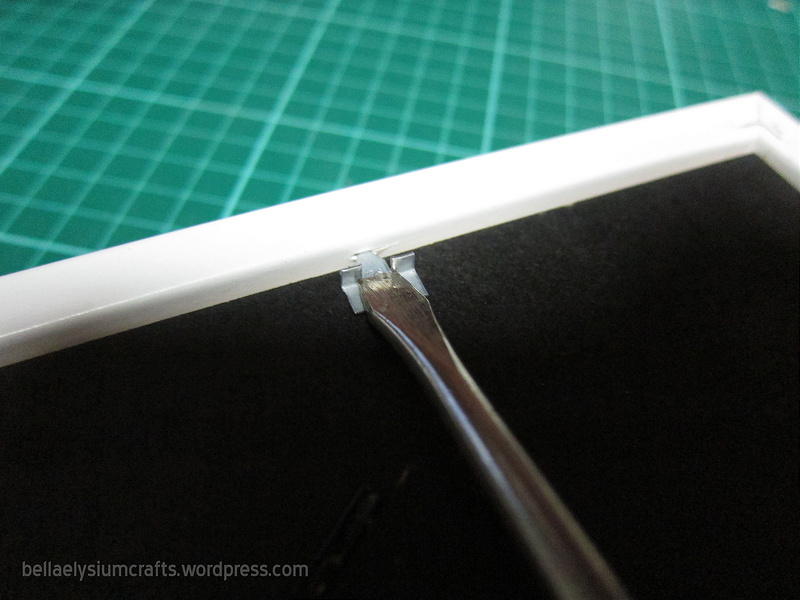
Pushing the glazier point into the hole
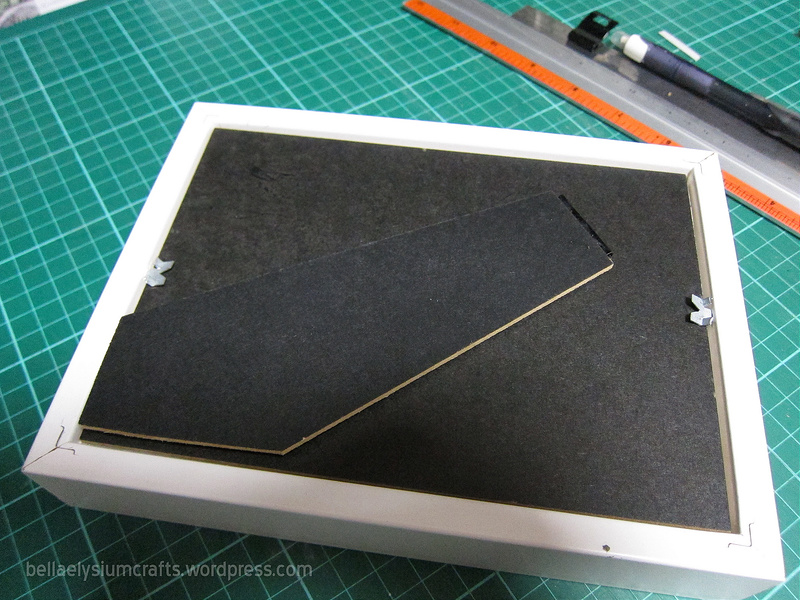
It will looks like this
The final outcome of the empty shadow box will look like this:
Empty DIY Shadow Box
Back of the Shadow Box
Ok! Once you make sure everything is okay and nicely fitted, you can remove the panel by taking out the glazier points and start decorating!
I used the pattern papers which I printed out beforehand and start to cut out the same size as the panel for the background. I am using Canon Pixma Matte Photopaper, which gsm is 170 so it is hard enough to use as background alone. And I love the printing quality of the Canon Pixma Printer too!
I also print out Mother’s Day quote obtained from google which I saved in my phone and print it out using the PIXMA Printing Solutions App, and then cut out using my Silhouette Cameo machine. I use Distress Ink (Black Soot) to color the main frame for a soft black look before layering the paper into three layers before using foam tape to paste onto the background of the paper to create a 3D look.
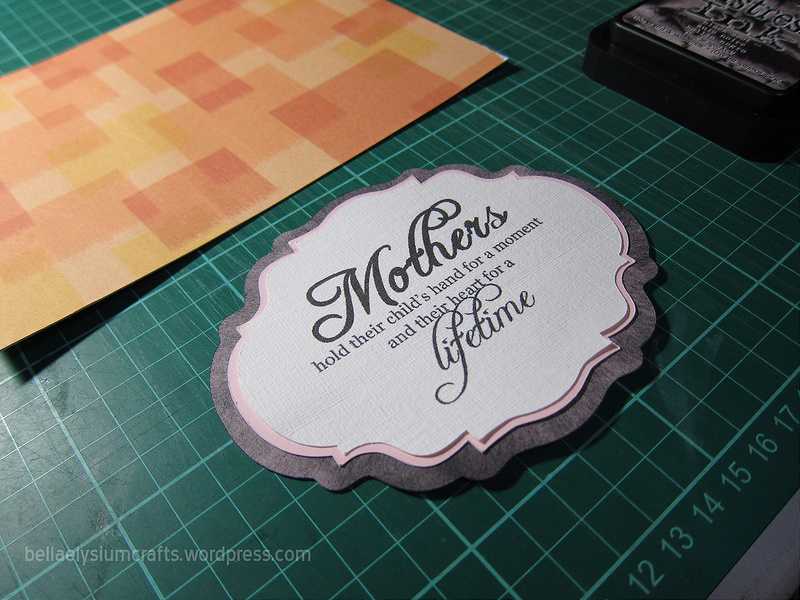
Layering the papers (three layers) before pasting onto the pattern paper
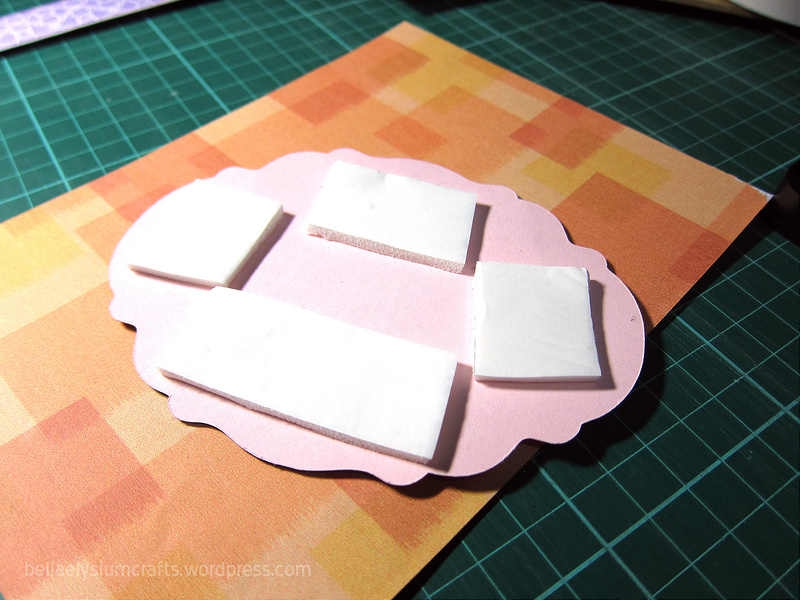
Using Foam Tape to paste the tag onto the paper
Butterfly punch is used on another paper which I printed out using Canon Pixma as mentioned previously and it makes such a nice colourful butterfly too. The wings of the butterflies are folded before gluing the center of the bodies to the paper.
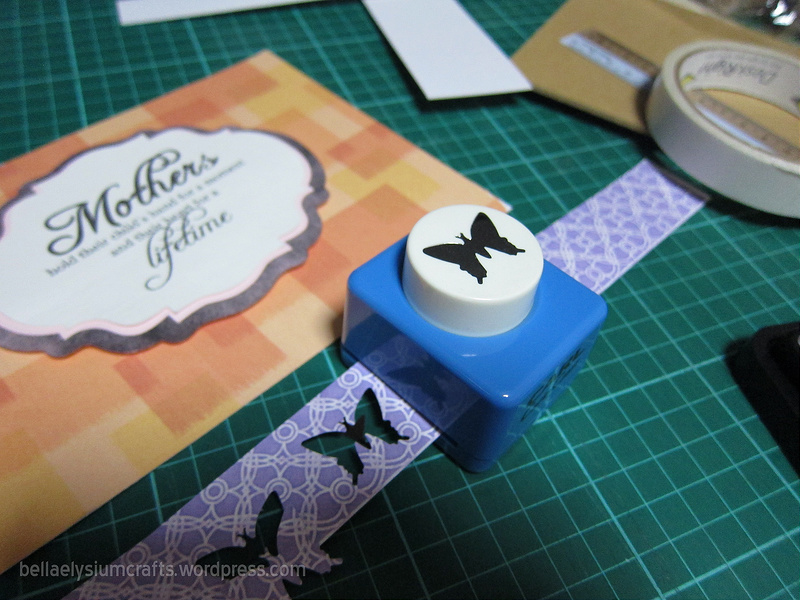
Punching out butterfly using shape punch
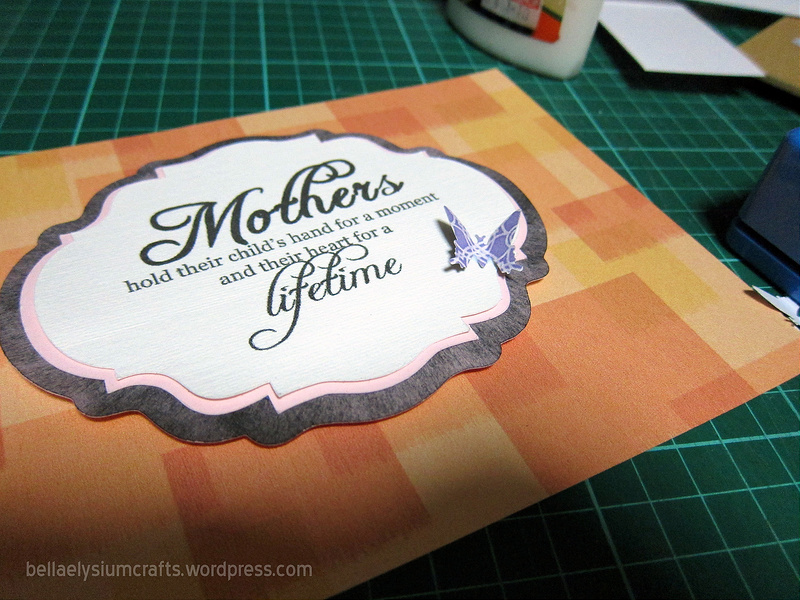
Paste the butterfly onto the tag
And of course, add more embellishment!
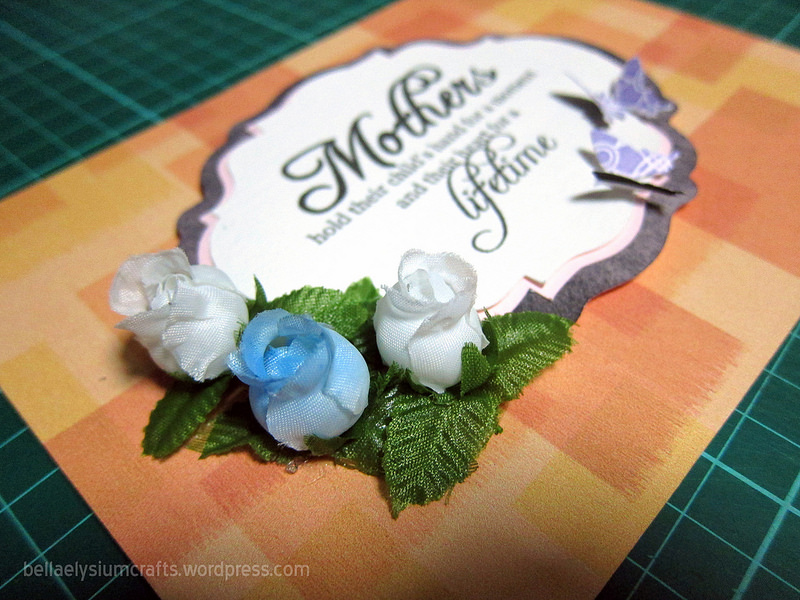
Adding fabric roses
And to make it more interesting, you can also add things into the box like for example, putting small wooden cubes or any sentiment/decorative items. I want to go for a very simple spring-like theme, so I added in paper strings as I know that my mother will like the look.
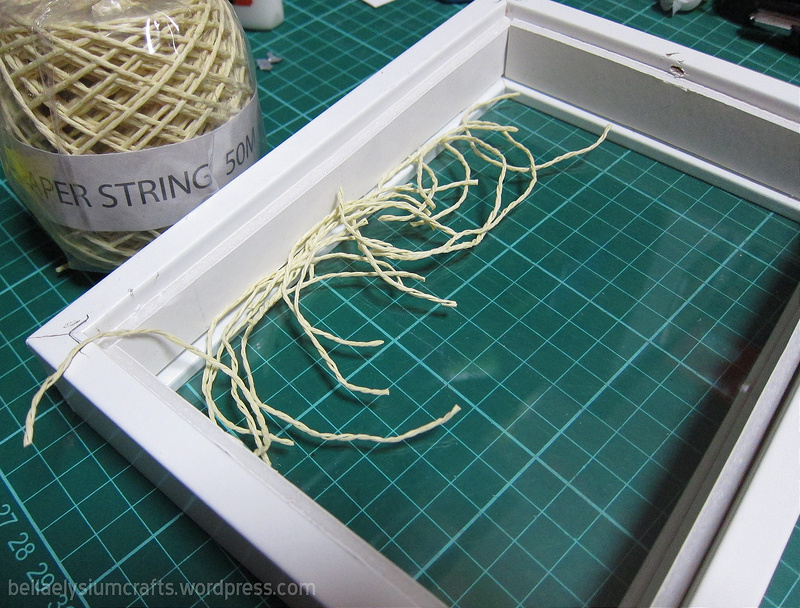
Cutting paper string and putting it in the box
And then that’s it! You place the patterned paper (the one with the tag) over the foam strips before placing the panel back in place and secured the panel using the glazier points (use flat head screw driver to push back in).
And there you have it! Your own DIY shadow box!
You can also put your photos, or even scarpbooking layout into the shadow boxes.
For more ideas, check out Canon Pixma Creative Park and Canon Pixma Town have so many designs ranging from papercrafts to card making kits as well as even making your own 3D stickers! These are very useful and creative for your own shadow boxes too 🙂
To end off, I would like to wish all MUMs
a Happy Mother’s Day! <3

