Colour Inspiration Time!
It is always never too late to make a Christmas card since it is only 2 months away. I decided to come up with mainly red, green and white which is quite commonly seen during christmas season, as depicted in my pattern below:
Such lovely colours, don’t you think? 🙂
And here’s my take for the colour palette:
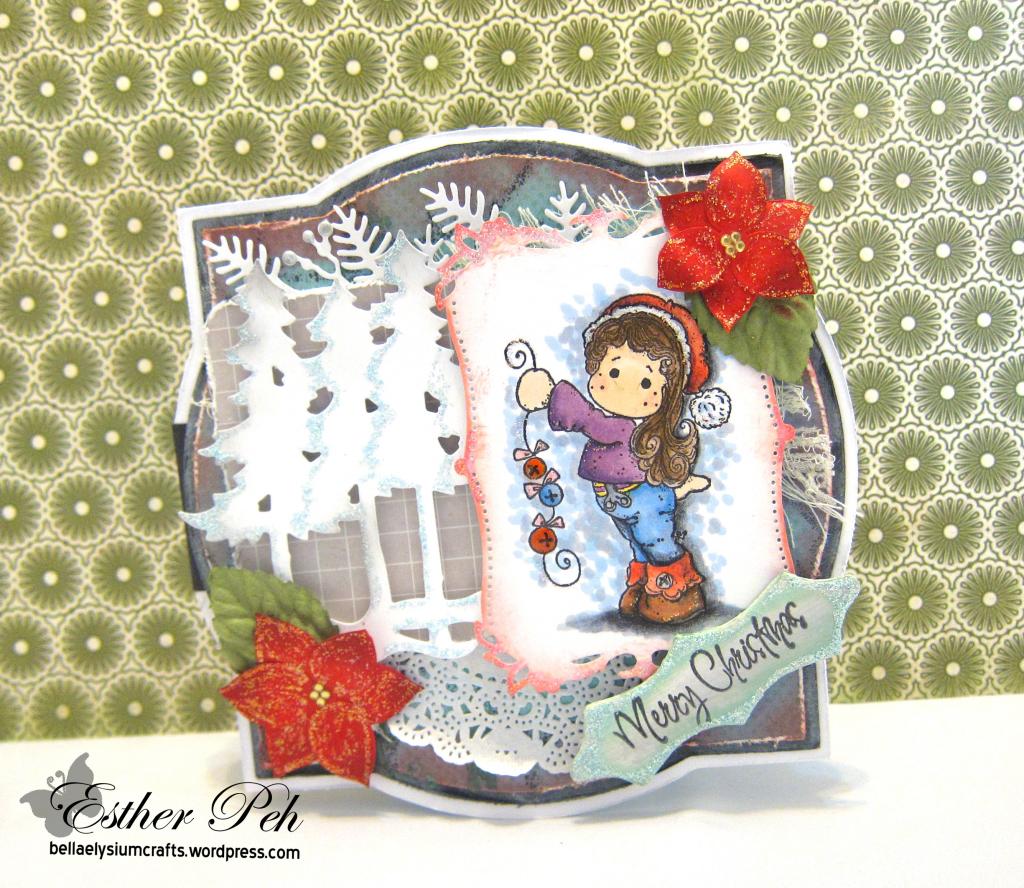
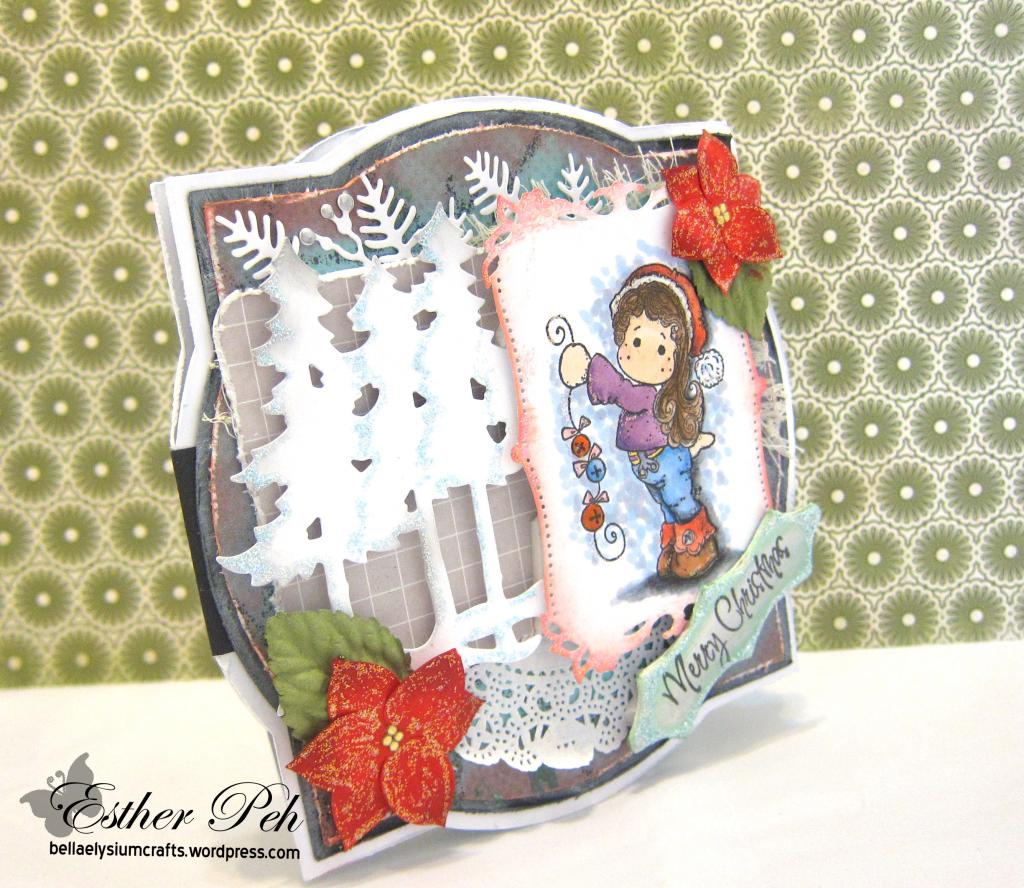
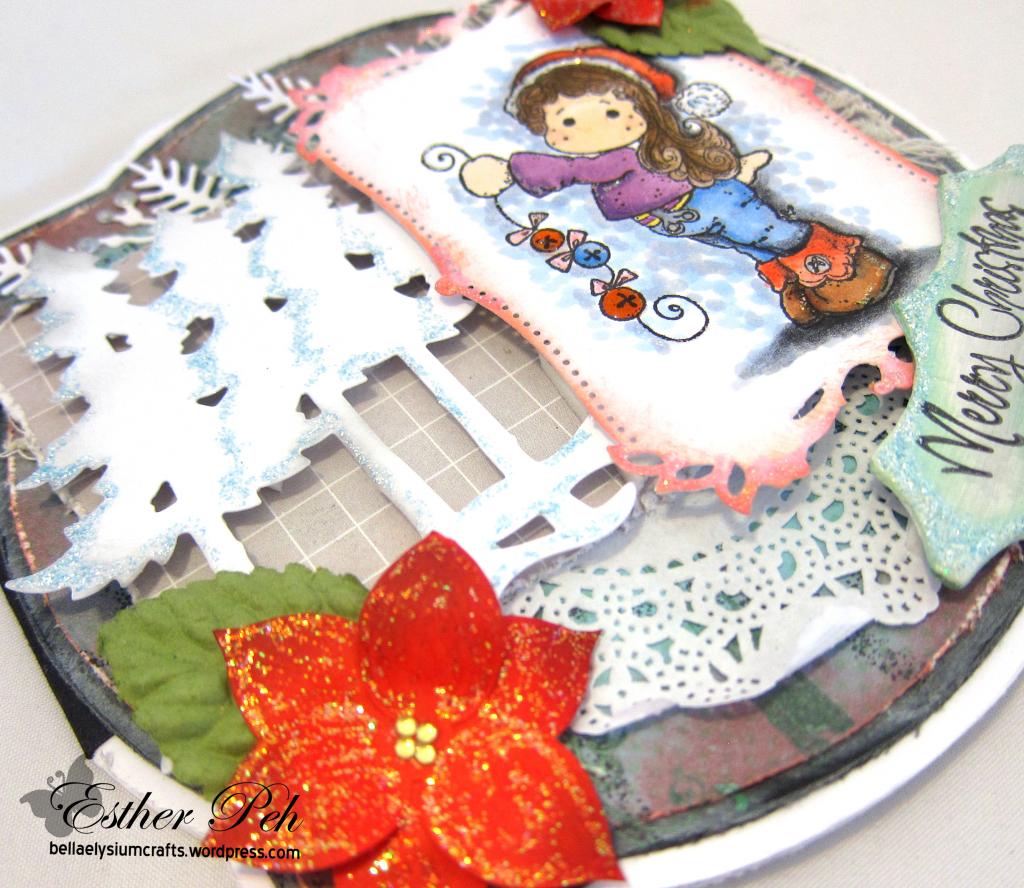
I am so in love with the card shape! I designed the card shape myself using Silhouette Studio where I have this concept of adding a “snowglobe” to the card, thus you can see the circle in the middle, and the corners of squares poking out. Kraisercraft green pattern paper (Fairytale) was used for the background where I distressed the edges of the paper with Distress ink (Worn Lipstick) which make the edges appear purple instead of the light pink (worn lipstick). After which, I pasted the guaze and then layered some leaves from Die-Namite Die Cut (Pine Wreath). I should mentioned that I simply love Die-Namites Die cuts! I also layered paper dolly (obtained from a local craft store).
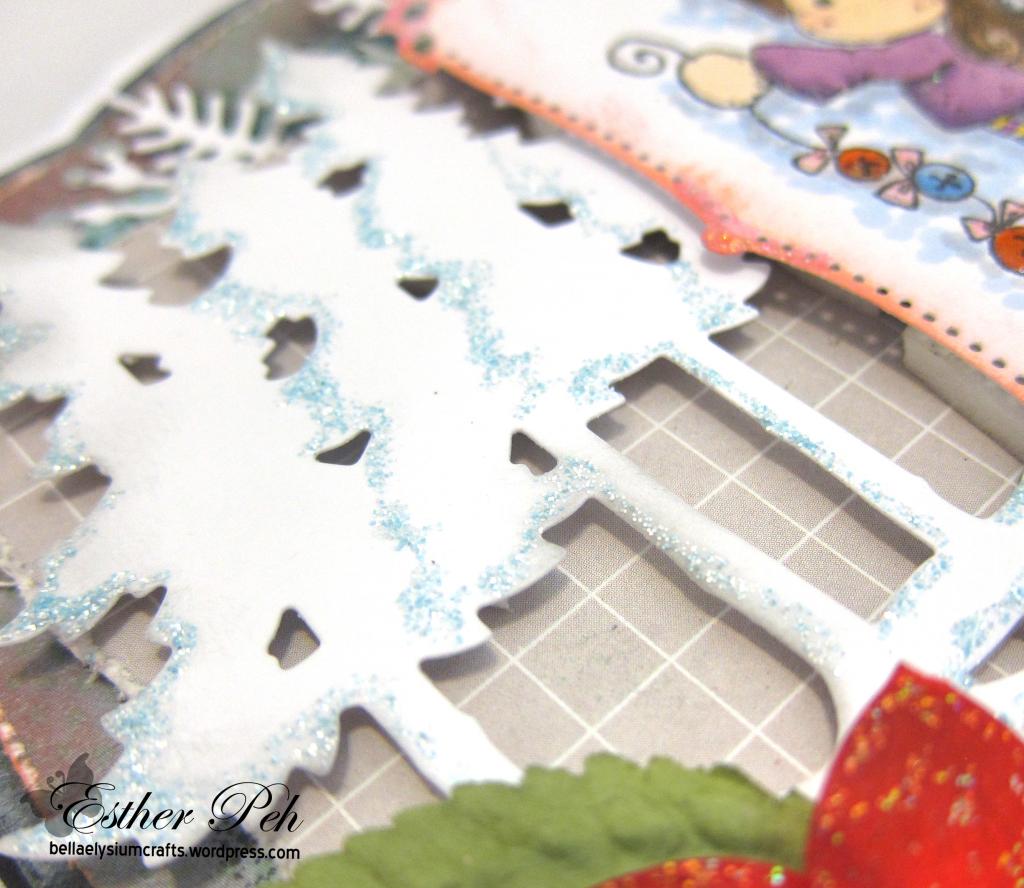
Next, I took out the leftover journal cards obtained from previous buy, and choose a light grey base with white grids for the background of my winter forest die cut. I made the edges looks tattered, before layering the winter forest (Die-Namite die cut) over using foam tape. I colored Magnolia Tilda using Copic Markers and Faber-Castel color pencils, and add glossy accent to the Christmas ornaments that she was holding. Glitter was added onto the colored image and winter forest as well.
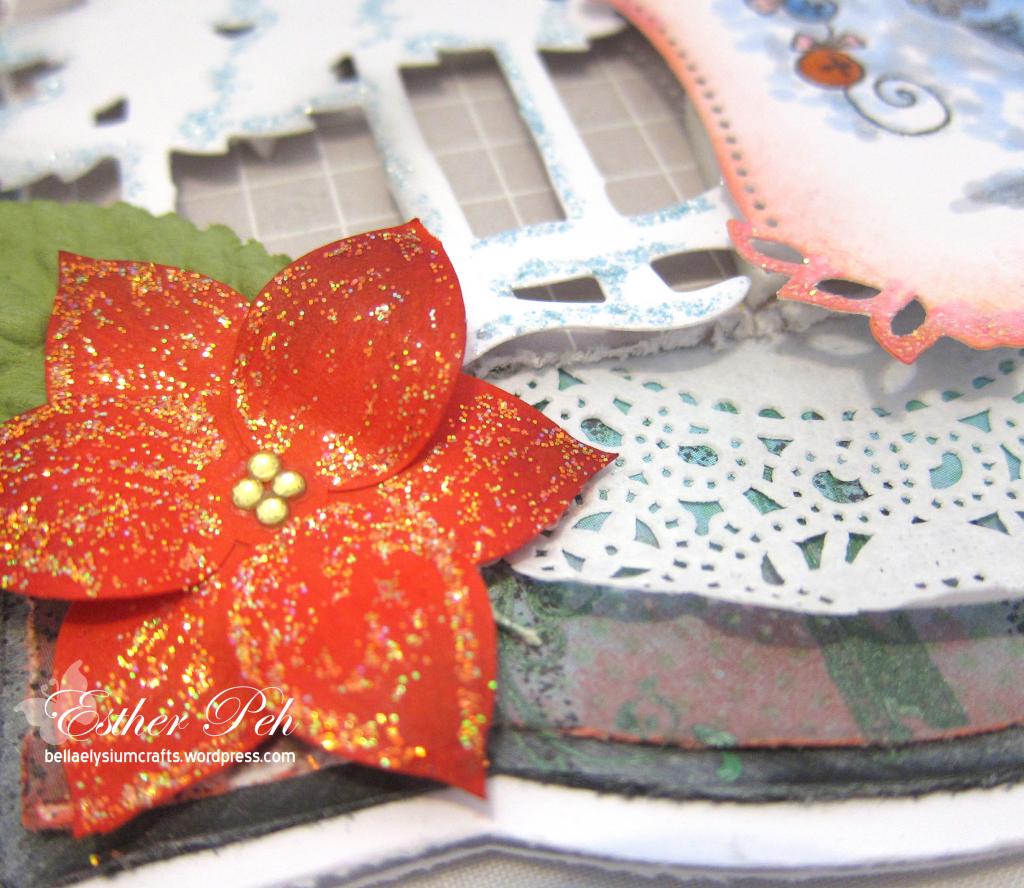
I cut out the poinsettia petals and curled the petals, before pasting layer by layer (2 layers) and added rhinestones to the center of the flower. Leaf from Prima Marketing was also included. And finally, adding the christmas’s sentiments.
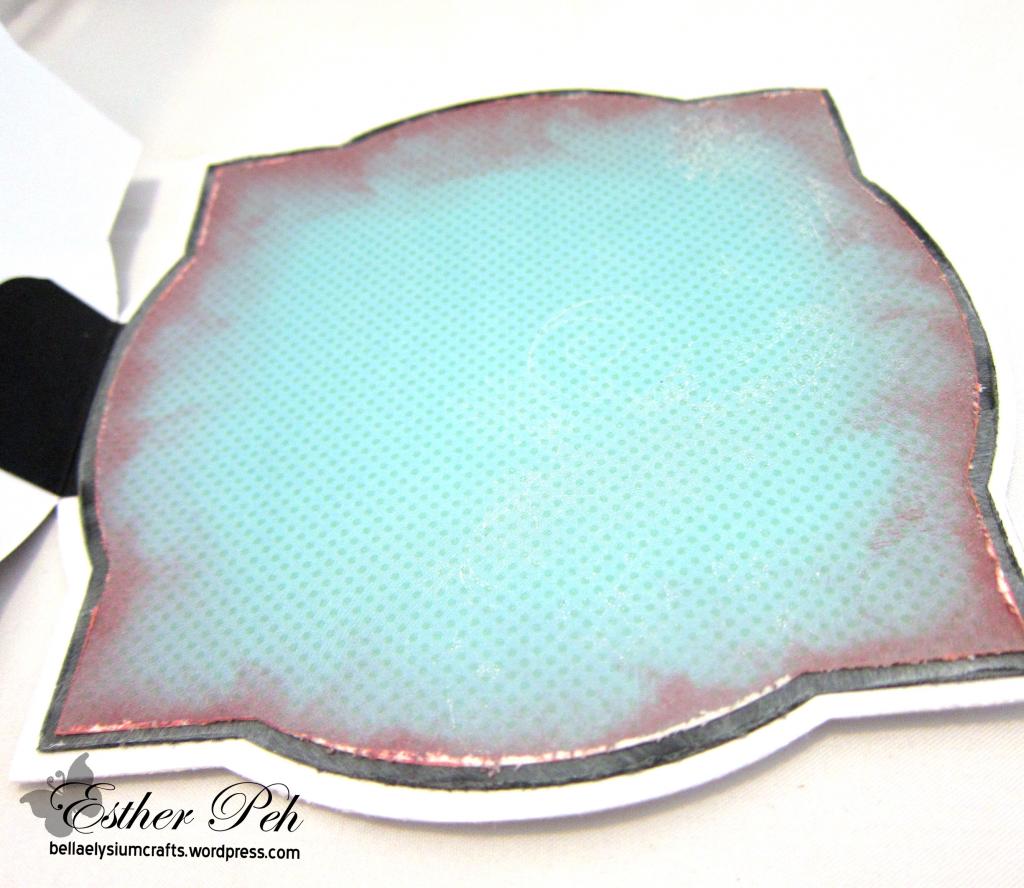
I distress the edge of the black card stock with white chalk ink followed by a layer of Krasiercraft paper, which was also distressed using Distress Ink (Worn Lipstick).
That’s about it!
Thanks for looking! <3

