I love Eiffel Tower because of the architecture as well as how people depicted it as a symbol of romance. So as I was searching through the Canon Pixma Creative Park website for architecture paper model, I saw this Eiffel Tower (Night) which looks really stunning in the picture that I wanted to build that!
I use Canon Pixma printer and Canon Matte photo paper to print it out, the color quality is excellent. So here are the materials you need when doing paper models. And of course, you need lots and lots of patience! I love papercrafting myself, so I do find joy doing it, and my fiance worked together with me to build the Effiel Tower and it always amused me when he would stop halfway and give me a frustrated look when things is not gluing or folding right. And the reason why is because I love the challenge and wanted to scale the paper model down to half. So you can imagine how small the tower is! So when I printed out the paper model, he looked at how small I have to cut and he thinks I am really nuts since its our first time building paper architecture models together 🙂
And the best thing is to grab your buddy, especially your family to build the model together with you. Trust me, you will enjoy the process and take the time to bond together!
Materials used:
- Printer
- Matte Photo Papers
- Toothpick
- White Glue
- Forceps
- Scoreboard
- Craft Knife
So here’s some snapshots of the process of us making the Eiffel Tower:
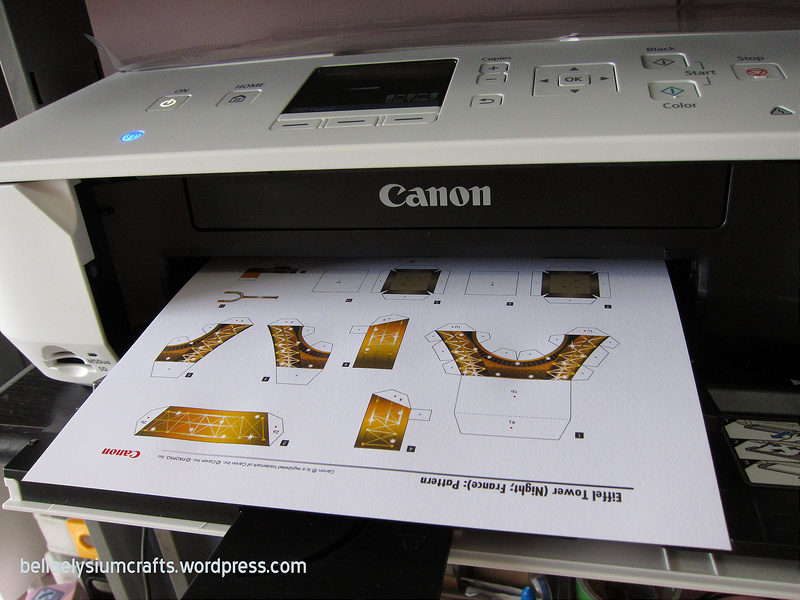
Printing out
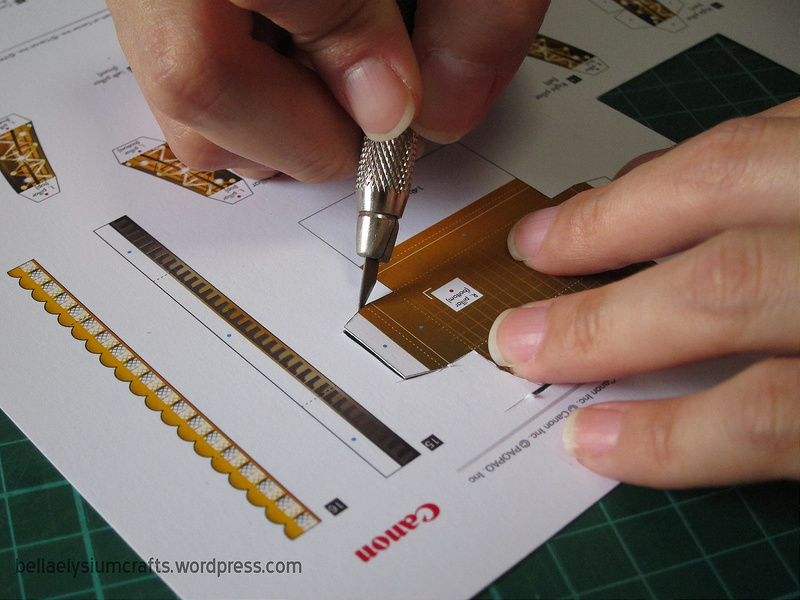
Cutting out using craft knife
We printed two pages per sheet, that is how we scale down by half and then I cut using my craft knife. And it took me one full day to cut everything with frequent breaks in between! But I enjoyed the process so it doesn’t really bother me. Using craft knife is recommended compared to using penknife or scissors because you can control how much curve you need to cut.
Can you see the yellow border in the picture above? That’s a lot of curves!
Using craft knife is much easier to trace the curves and lines 🙂 After which, use a scoreboard to score all the folding lines. But if you print full scale, then I guess score board is not needed. But because my model is small..the fold lines are crazily tough to fold by hand. So scoreboard would come in handy.
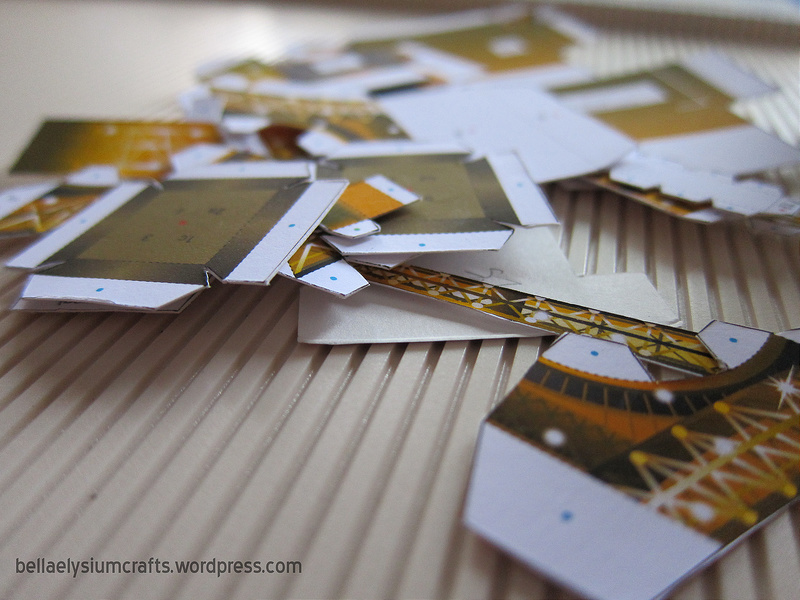
Ready to use scoreboard to start folding!
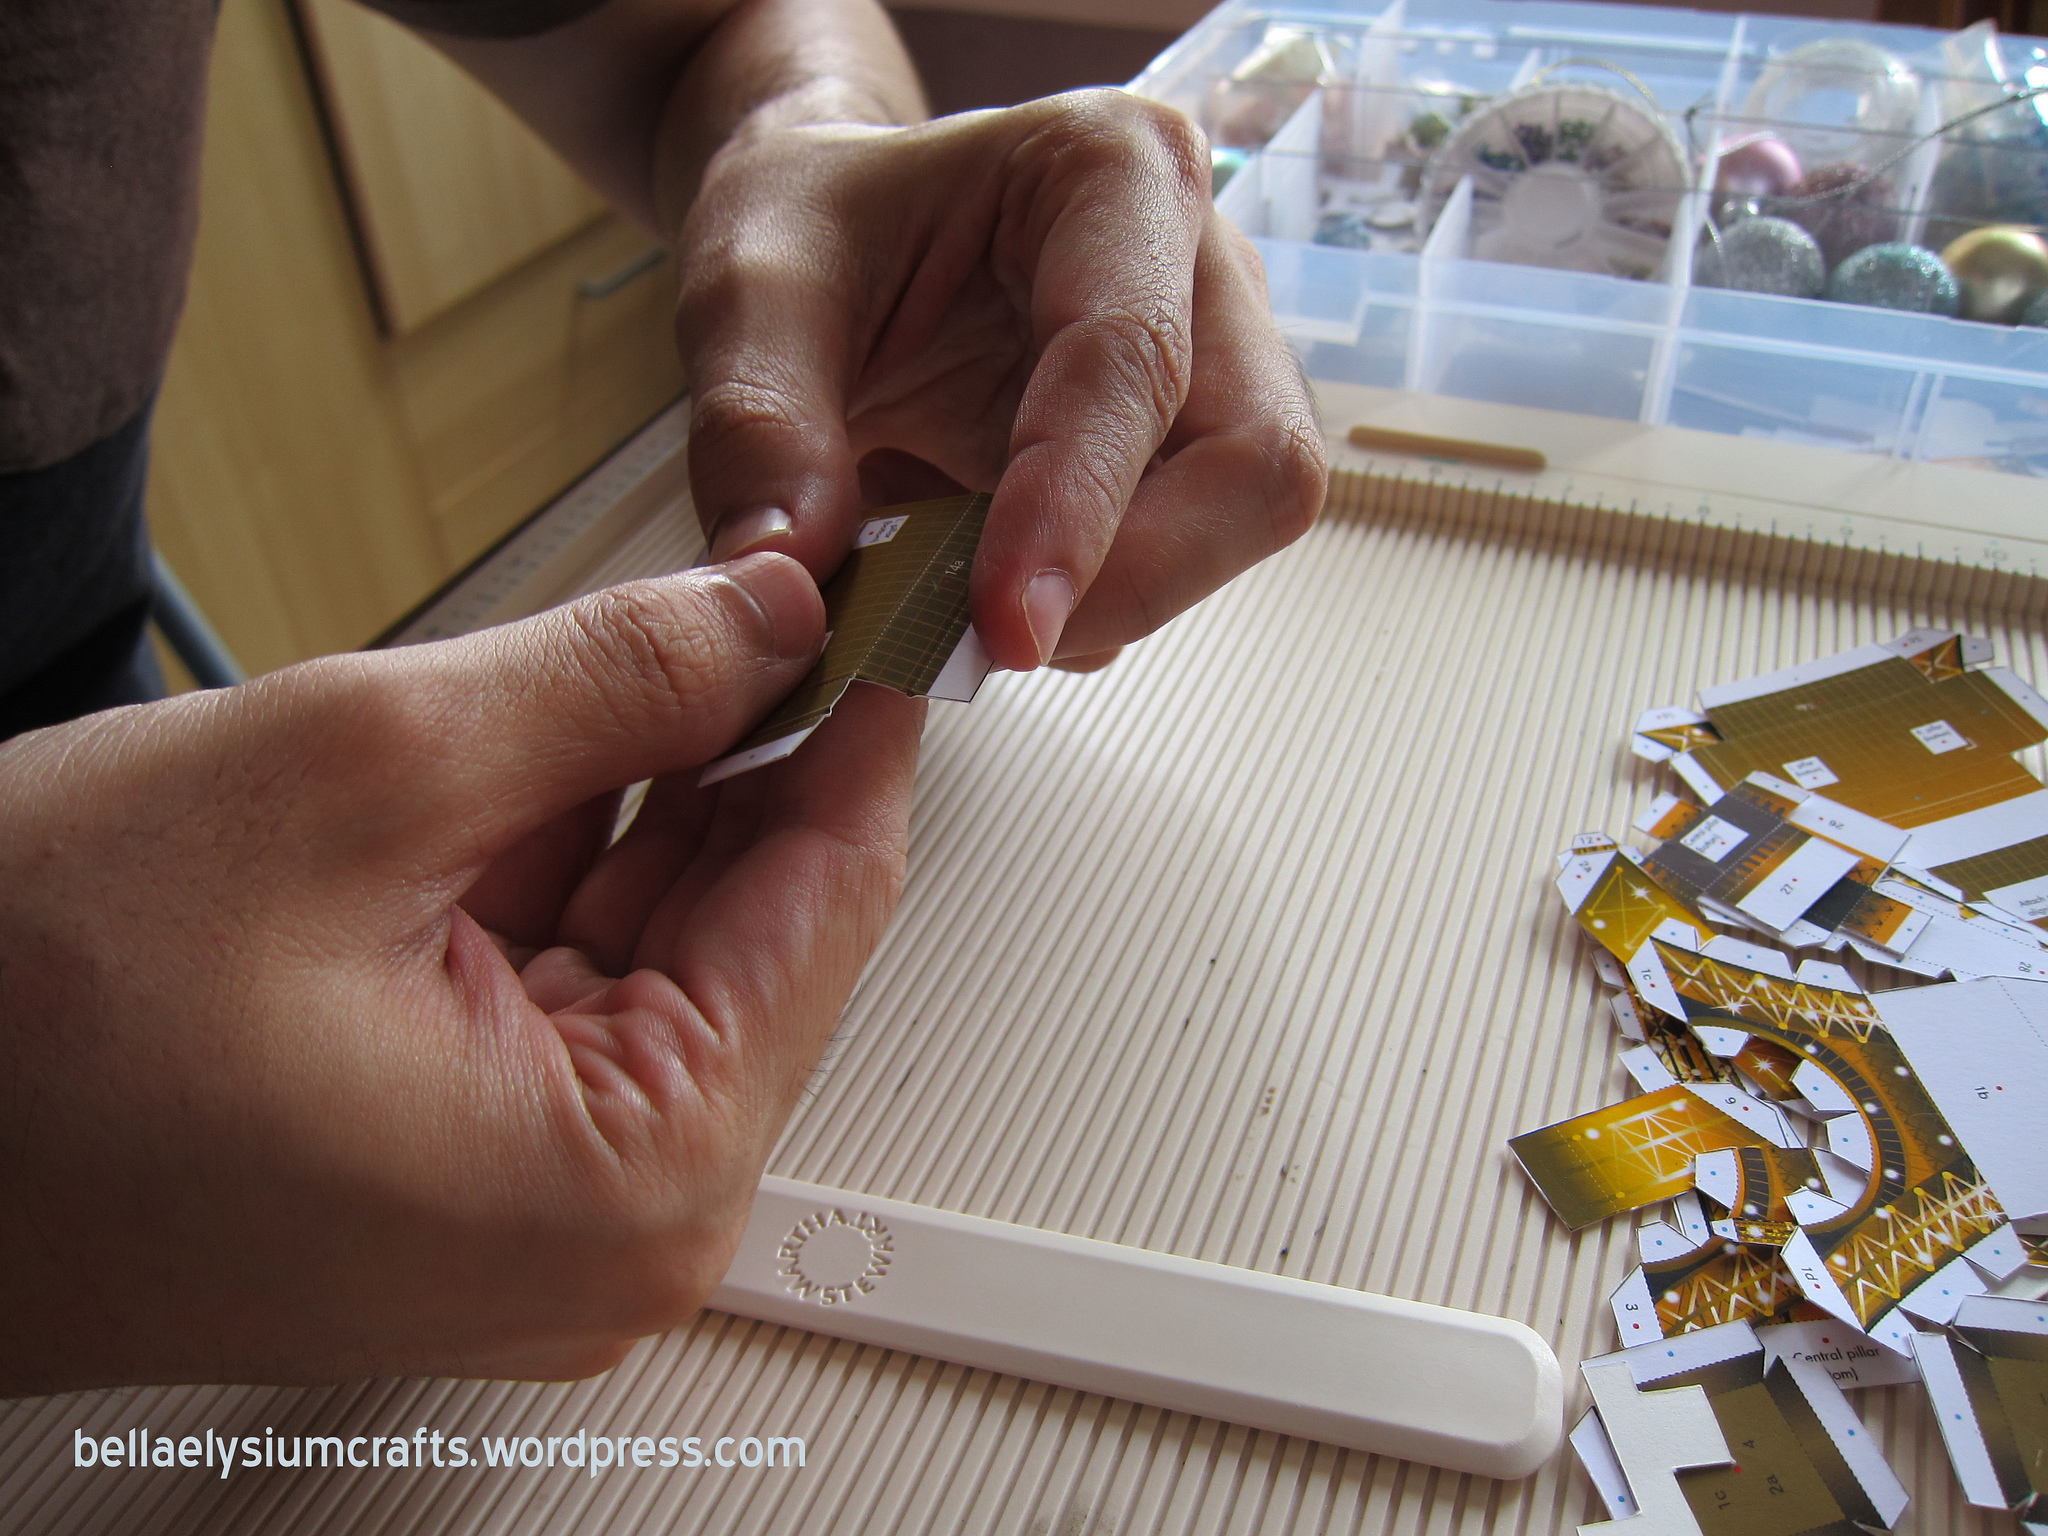
Start folding after scoring
Remember to write down the numbers behind the parts of models after you cut it so that you will know which one to be assembled during the gluing process. And at that time, the Canon website was down for maintenance so we couldn’t access the instructable pdf for instructions and we just go with our instinct and guess which parts to go with based on the number I wrote behind. Which means to say that it is also quite easy to figure out even if you don’t have the instructions on hand. And it will also help with the bonding with your family making with you as you discuss what to go next, its really like solving puzzles together!
So now come the fun parts where the gluing process start!
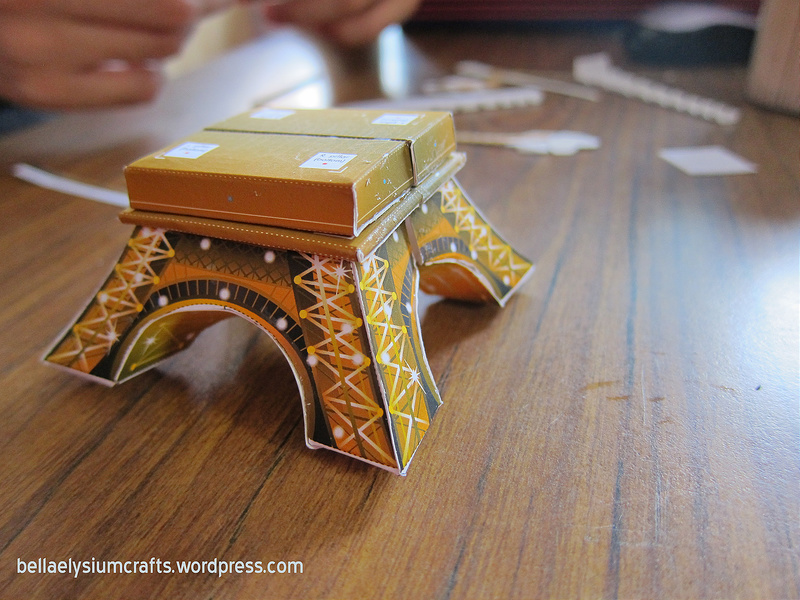
Assembling the bottom
Without much difficulty, we managed to assemble the bottom of the Eiffel Tower together where each of us will assemble half before joining our parts together.
So more gluing and assembling:
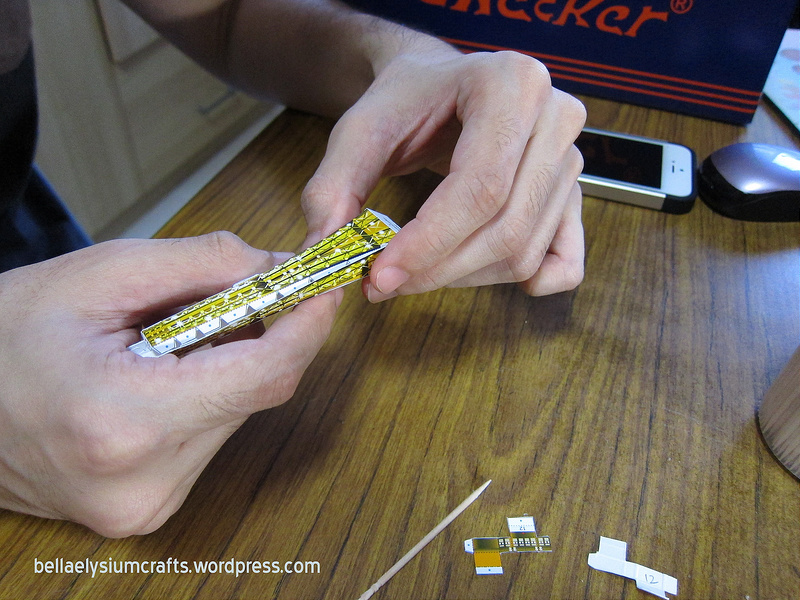
Proceeding to fold and glue the top part of the tower
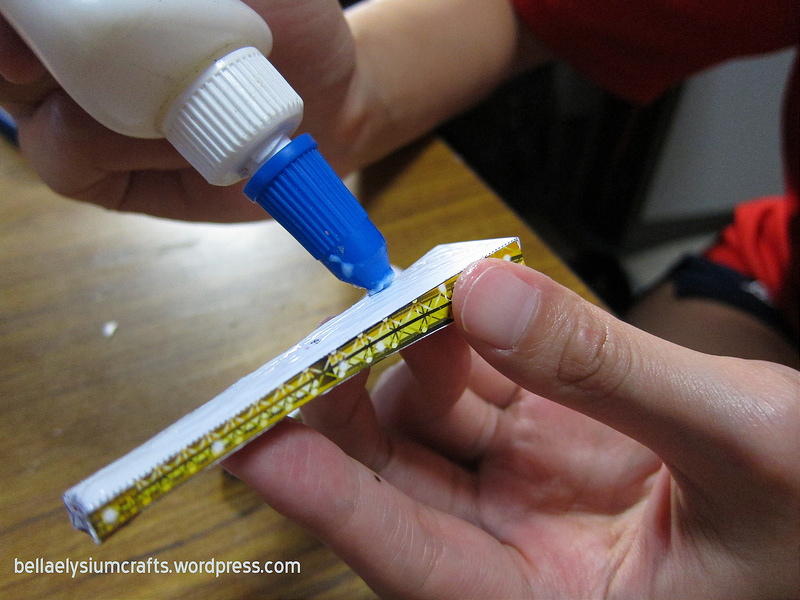
More glue and more glue!
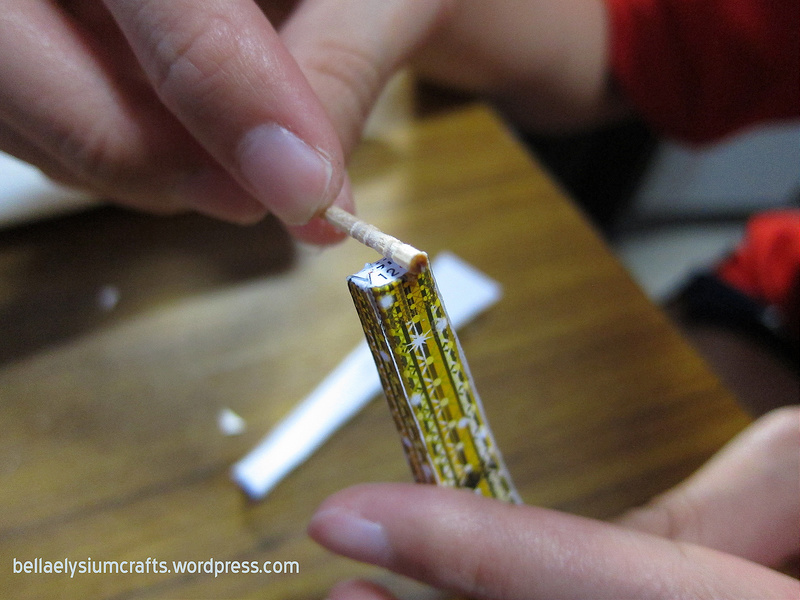
Using toothpick to help in the assembling since the surface area is so small!
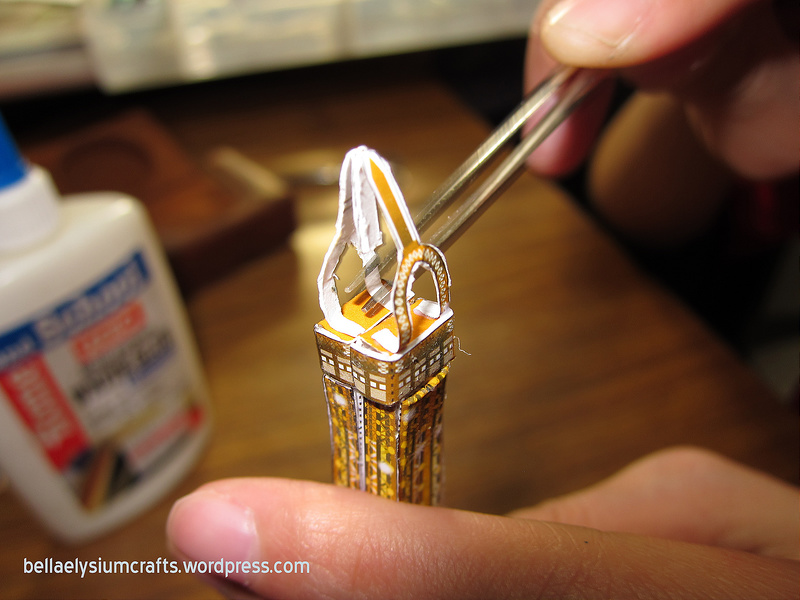
You can never do without forceps!
Notice how big our hands in the picture compared to the tower? That’s crazily small! So you need toothpick and forceps to help you along the way. You can replace those using other stuffs like needle or chopsticks but please do not use those sharp objects if you making together with your kids!
And the final outcome of our SWEAT and BLOOD:
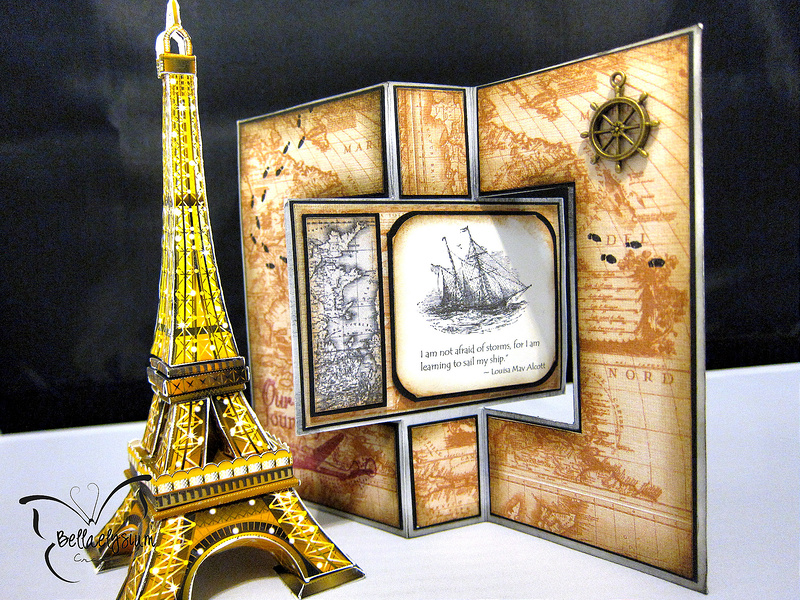
WE LOVE THIS!
So why not try your hand on those beautiful architecture models found in Canon Creative Park? 🙂
Do email me or send me your picture link if you manage to make one from there!
I would love to see it! <3
