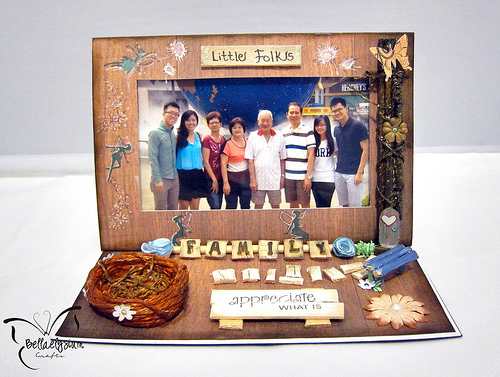
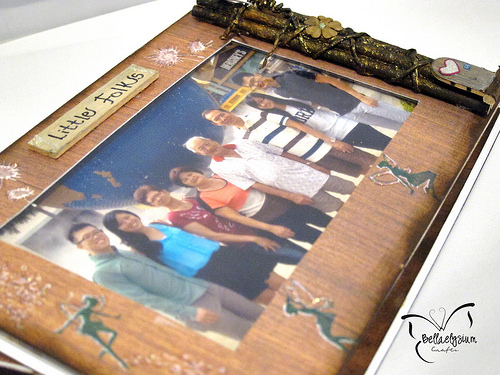
I am back with another card and this time, it is a photo easel card which is designed with a fairy theme in mind. The reason? I love fairies. 🙂 This is related to “Family” theme, and hence, it’s a Fairytale Family Photo Easel. Easel cards are always one of my favorites because you can displayed on your table or any surface, proudly showing the picture or photos you have on the card, not to mention, being able to fold fat and keep it too!
I will be going through on how to make a photo easel card so that you can make one too!
In this project. you will need:
- Photo Printer (I use Canon Pixma printer)
- Patterned paper (Canon PIXMA Creative Park)
- White cardstock
- Penknife/scissors
- White glue/Double sided tape
- Plastic sheet/transparency film
- Popsicle/dowels/any embellishments (Optional)
- Your creative mind
With the freedom of the printing mobility with PIXMA Printing Solutions App, I used Canon Pixma printer and Canon Photo Paper Plus Gloss II (4″x 6″) to print out my photo which is really awesome colors and quality!
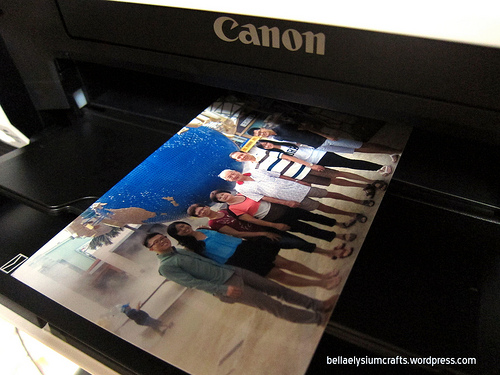
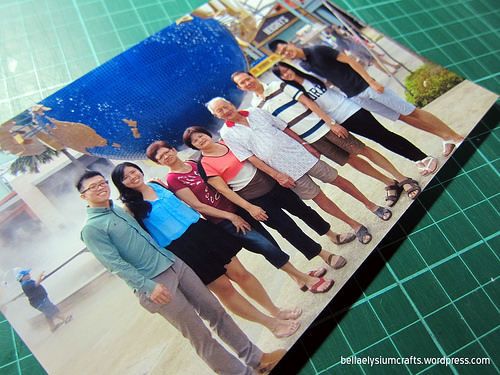
I also printed pattern paper (A4 size) which is “wood” kind of pattern from Canon PIXMA Creative Park Website which is perfectly in line with my fairytale theme that I have in mind. After that, fold the patterned paper into half and put the photo inside, before cutting out the excess until you leave 0.5cm on each side of the photo, and about 2 to 3 cm space at the bottom of the photo.
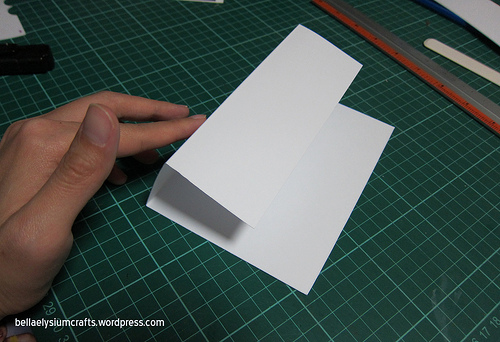
Next, cut away the space at the bottom of the photo (leave the upper half of the patterned paper untouched. After which, you score/fold down the upper part like this:
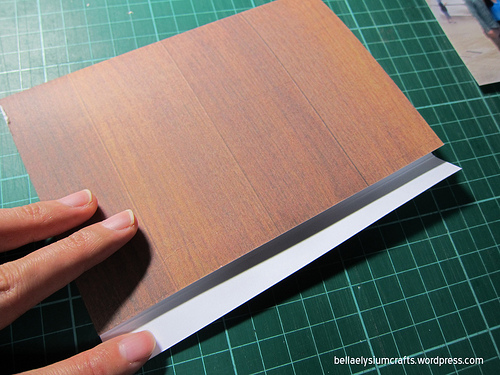
Cut away the lower part of the patterned paper and fold down the upper half before folding the bottom
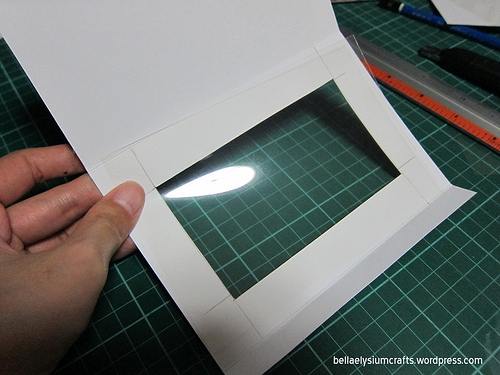
Next, open up the paper and draw the desired size window you want (onto the half of the paper which has the “folded” portion below! See picture below) and cut it out so that your photo can be seen from the window. Put a plastic sheet/transparency film over the window and tape it down. After that, glue down the bottom of the “folded” portion onto the back of the patterned paper so that you can slot your photo into the opening of the side of the “frame”.
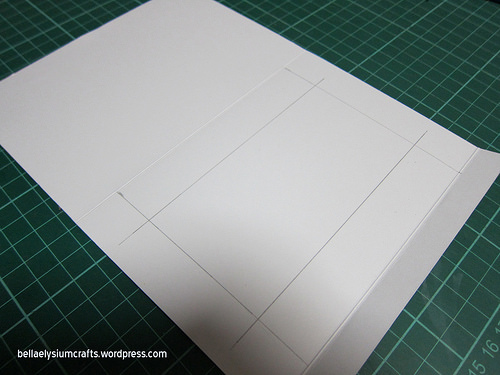
Draw out the desired window size and cut it out
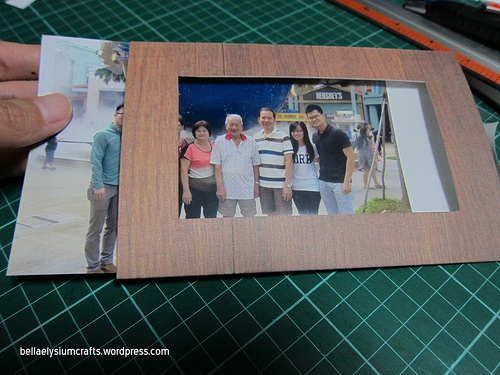
Glue the “folded” portion of the paper at the bottom to the back of the paper before slotting your photo into the opening at the side of the frame
Putting that aside, grab a white cardstock and cut out double the size of your photo frame, and folded it into half. At the upper half of the paper, fold it into half again.
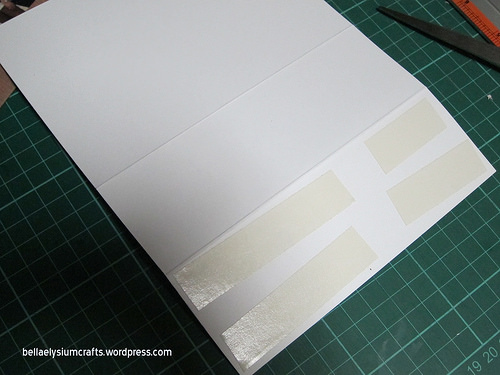
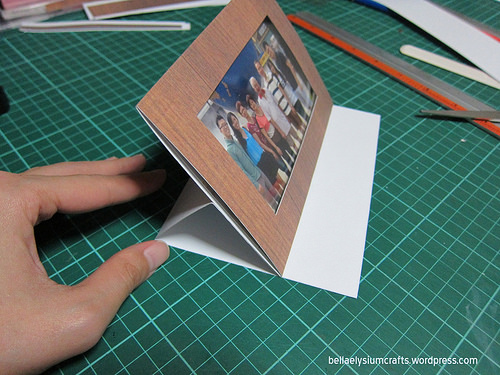
Next, put double side tape/glue onto the bottom half of the paper (see picture below) before pasting the whole photo frame onto it (bottom of the photo frame).
You are almost done! you can start decorating the frame and the base of the frame. But be sure to place something at the base to prevent the photo frame from sliding down. So from here, let your creative juices flow and start putting whichever items you want to add in!
* * *
So for now, I am going to go through very briefly my own design process if you are interested in following me till the end! I didn’t take much pictures during the process because my hands is full of glue, paint and ink that I didn’t want to dirty my camera. But I will be explaining what I did to get the finished product.
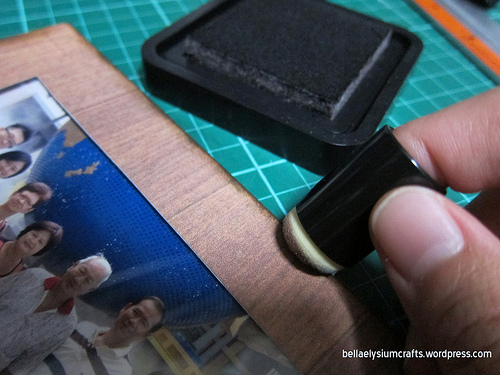
I use the wood pattern paper for my base as well, and use sponge and walnut distress ink to darken the sides of the frame and paper as I want to give a real wood feeling.
And I gathered all my alphabet letters pasta, popsicles and dowels and start making the miniature obejcts and letterings. It is a slow and enjoyable process by the way!
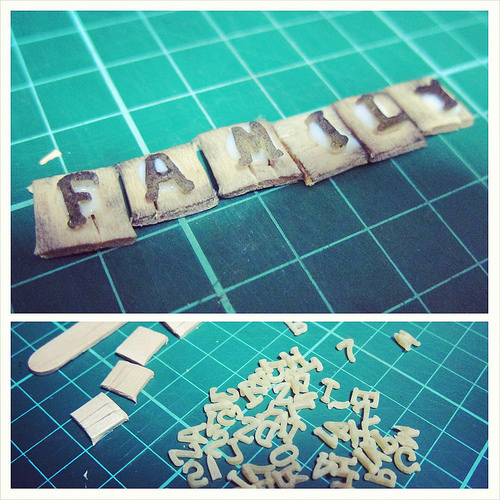
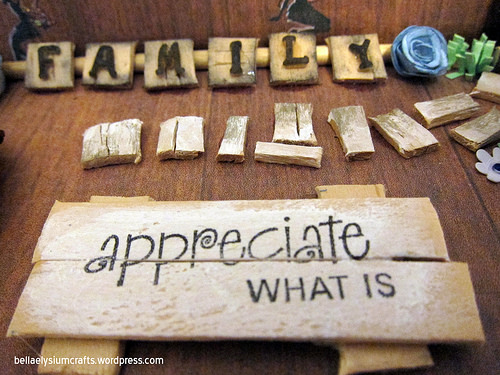
Forming “Family” Letters on the cut up popiscle

Making bird nest using twine, and mini stool using dowel
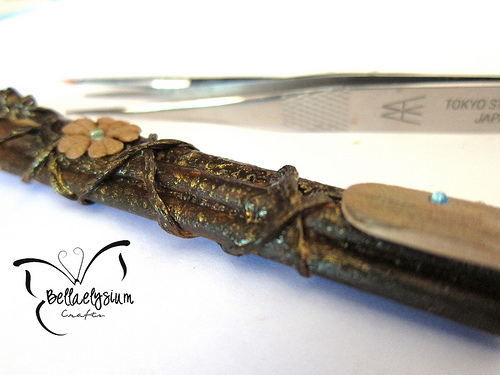
I made this miniature fairy door by taking 3 dowels and tie them together using paper string before painting the whole thing with acrylic burnt umber and Vandyke Brown, spray with Heidi Swapp Color shine Gold. The door is made from the end of the popsicle before I add in rhinestone as door knob as well as a heart shape sticker as a decoration (see picture at the end of blog post). Fabric flower and paper butterfly were used as part og “decoration” too.
As you saw that I have made the letterings of “FAMILY”, I glued them onto a dowel before placing them onto the base of my card to be used to prevent the frame from sliding down. After that, I proceeded to work on the bird nest and minature stool as well as the wood “pathway” and signboards, and painted them with acrylic paints. I used green paper to cut out as grass for the card as well as white paper to make paper roses before painting it with blue watercolor. Fairies stamps were used for the frame of the card, and white pen was used to outline the fairies before adding glitter glue.
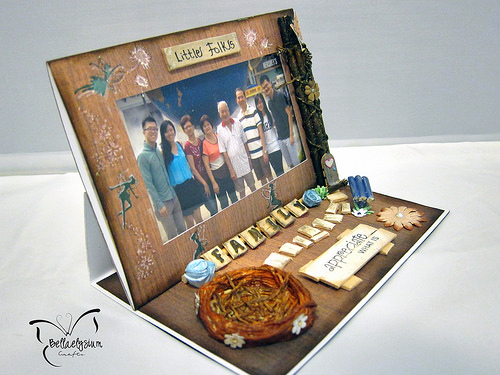
And the final outcome:
I hope you like it and thanks for watching! <3
PS: This post is also re-blogged at Canon PIXMA Crafts OMY.sg blog.

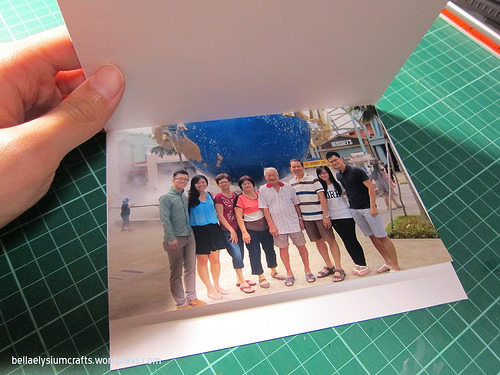
1 comment
[…] PS: Want to learn how to make easel card like this one? Hop on to my tutorial here: Making fairytale easel card […]