The first time I tried my hand on bookmaking by self-learning in 2010 and I fell in love with it. I love looking at handmade books and how they come with so many different styles of stitching. So when my friend contacted me whether I will be interested in attending the Made With Love’s workshop on making mixed media book, I agreed without any hesitation. And it was actually my first ever paper craft-related workshop throughout 8 years of my paper crafting journey!
* * *
The workshop started out with the trainer, Aida, introducing herself and explaining about the materials used for the workshop. And pardon me for the lack of pictures because mixed media is the process of getting your hands dirty as you experiment with different types of inks, textured pastes and glazes. Mixed media crafts is becoming of hype lately, where so many crafters are now into combining different media layer by layer.
“Mixed media, in visual art, refers to an artwork in the making of which more than one medium has been employed.” -Wikipedia
I have not tried my hand in dealing with texture paste with stencils, glaze before so I figured that the workshop will be a good place to start while at the same time, crafting with my friend as well since she is very much into mixed media stuffs! The workshop class size is very small with only 5 participants in attendance including me and I feel that small class size is good especially when come to arts and crafts because the trainer will be able to focus on everyone better.
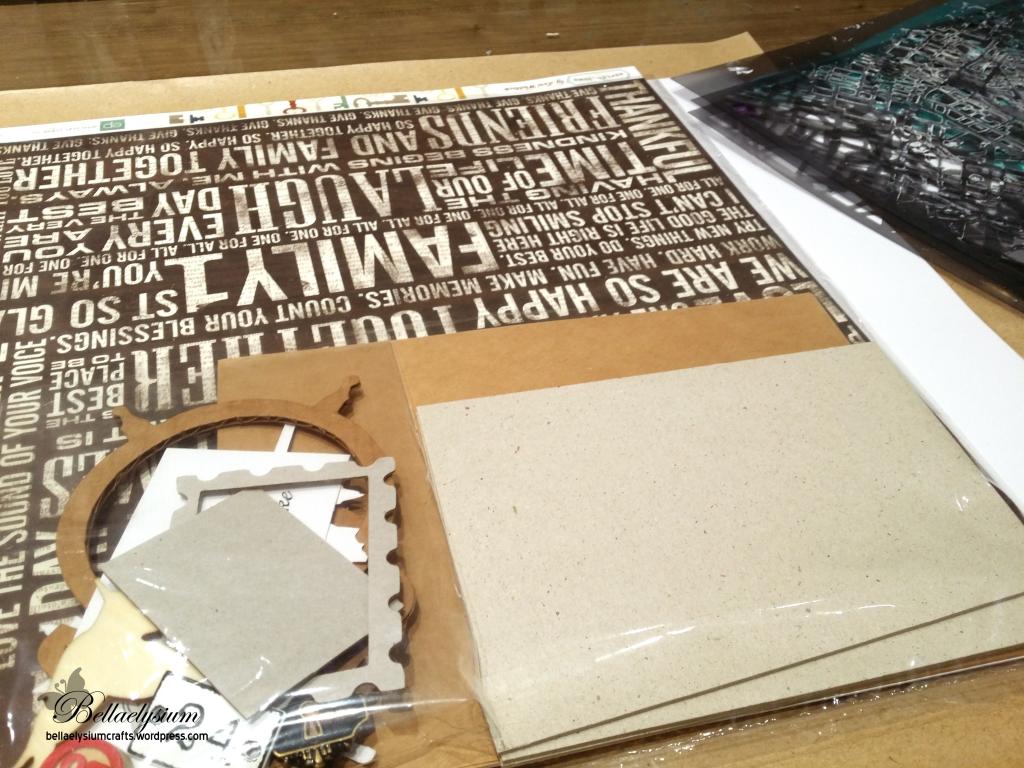
Supplies Provided
We started off with distressing the paper leaves and putting crackled glaze because they took about 45 minutes to dry. After which we started on getting dirty with our hands on acrylic paper provided for us. Paintbrushes were all out and you could almost hear the brushes swishing back and forth or slapping against the paper. It’s amazing to look around and see all of them with so many different styles of painting. So you could actually see that although all of us paint with the same color (Green), you could see the different styles of strokes which makes all of our works different and unique as well! I always love to look around and watch people doing their work because it has never cease to amaze me how people work with their own preferred style.
Next step is my favorite! Texture paste and stencil! I chose Paris map stencil because I have liking for complicated designs with lots of squares. Some people like it thick with texture paste, some people like it thinly spread. For me, I prefer thick texture so I spread really quite a lot on the stencil. Then once the paste is dry, we added thin layer of glaze medium (Tattered Angel) over before adding layers of acrylic paints using our palette knife and dabbed with tissue at some areas for some lightening of colours. Once we were happy with the results, we sealed the paper with glaze again. I put really a lot of glittering glaze because I love glitters so I couldn’t help admiring my own work once everything was dried! And again, I started looking around and observed how people make their color choices and choose how they want it to be painted. My friend, Amrita, go for striking colors which is hot pink and gold…I was like WOW! The color combination was surprisingly beautiful when she was done with her book! I have never imagine that that kind of combination can create such wonderful pleasing display.
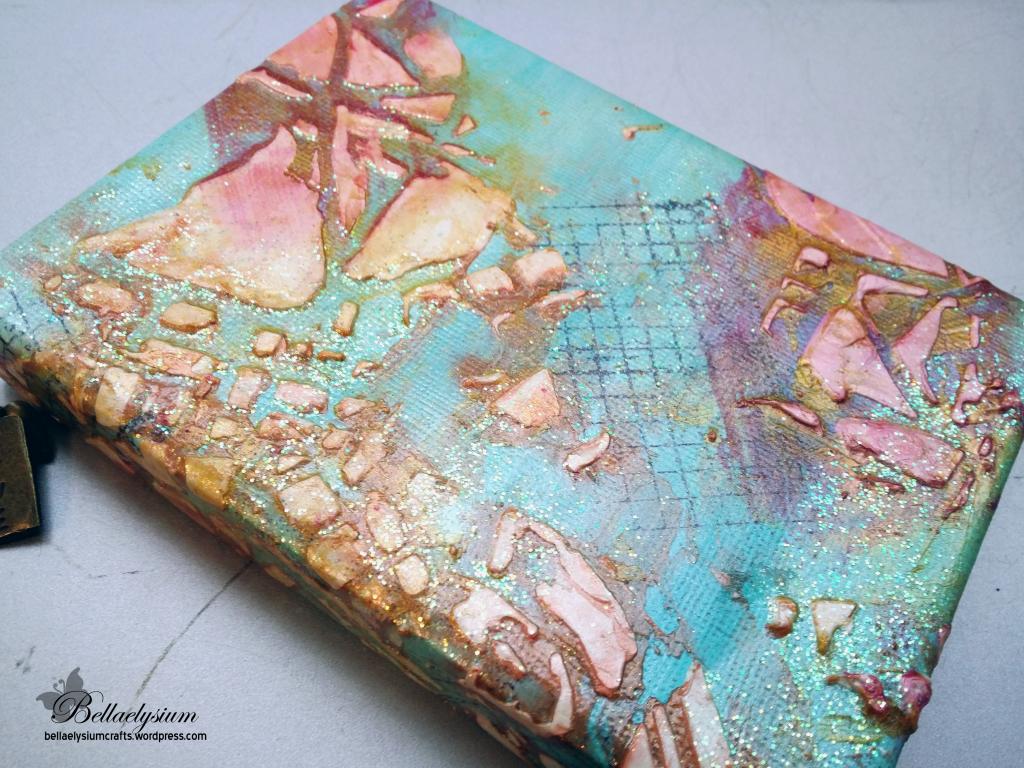
Amrita’s book lovely color combination!
For me I decided to go for light colors with clean look so I avoid doing any stamping nor using black archival ink. It is just mainly gold, light blue, orange and yellow. Light blue and orange is my favorite color combination but I added yellow in order to kind of like make it more “striking”. I love my own result as well!
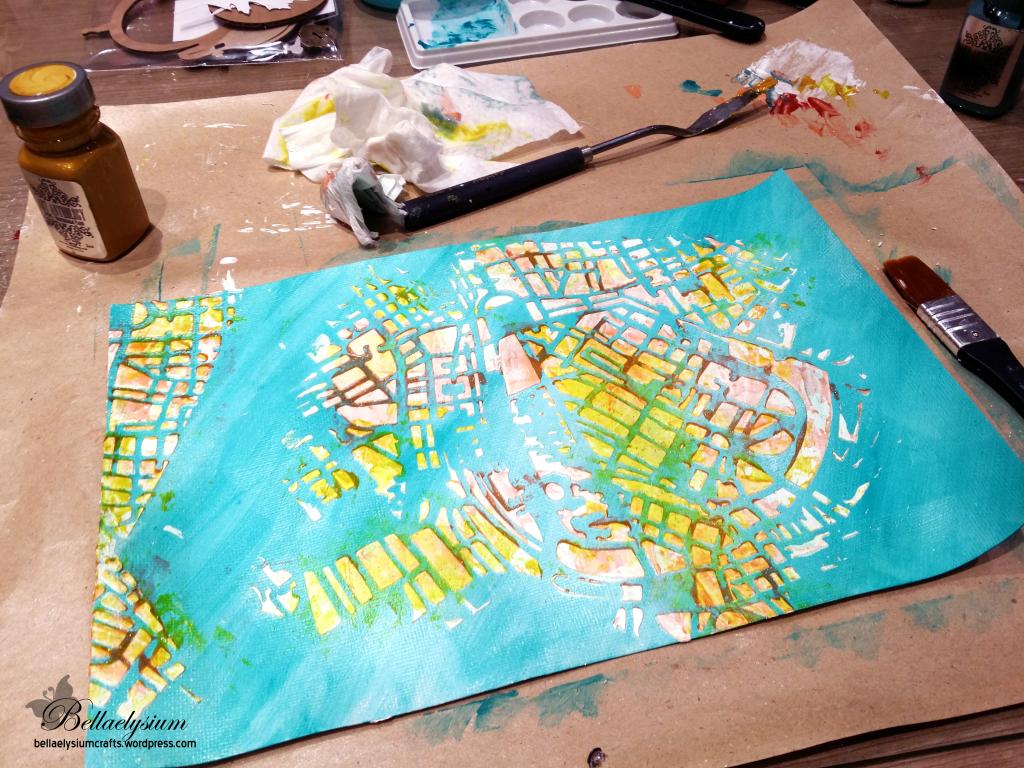
Waiting for the paints, texture paste and glaze to dry
Next is my favorite part which is stitching of the pages to make a book. Aida taught a different way of stitching from what I am used to, so I was a little slow in catching up. But I like the stitching in the middle which was described to be the butterfly stitch. Interesting isn’t it? And we also add beautiful bookmark by adding the metal embellishment onto the book before making a final knot to end the stitching process.
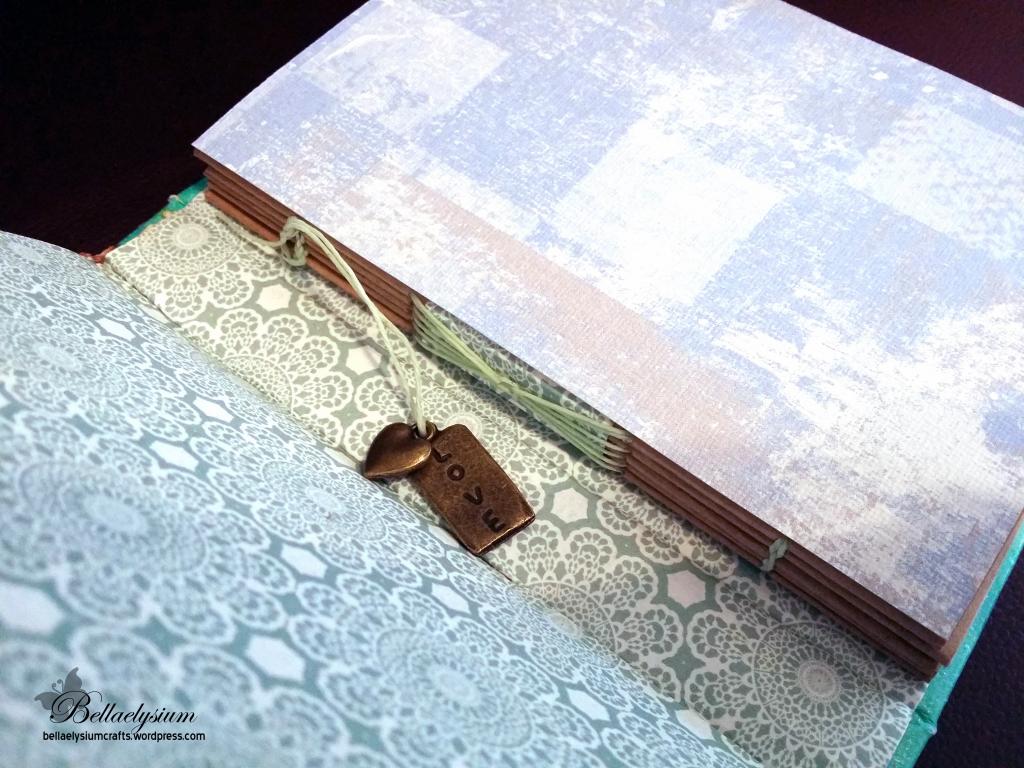
Butterfly pattern stitch in the middle, with a sweet little bookmark hanging at the side
The final step is to paste the acrylic paper which we were working on previously onto the pages to make it into a book before doing embellishing. And finally, just do our own embellishing by adding whichever things we want to add onto the book!
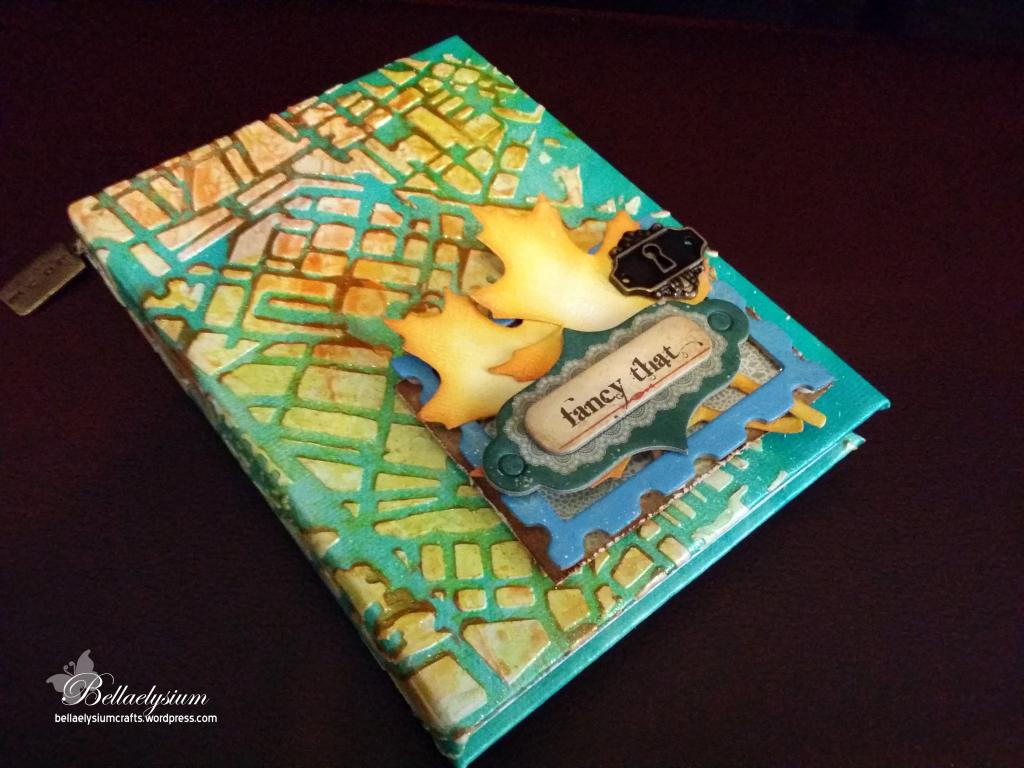
Final outcome!
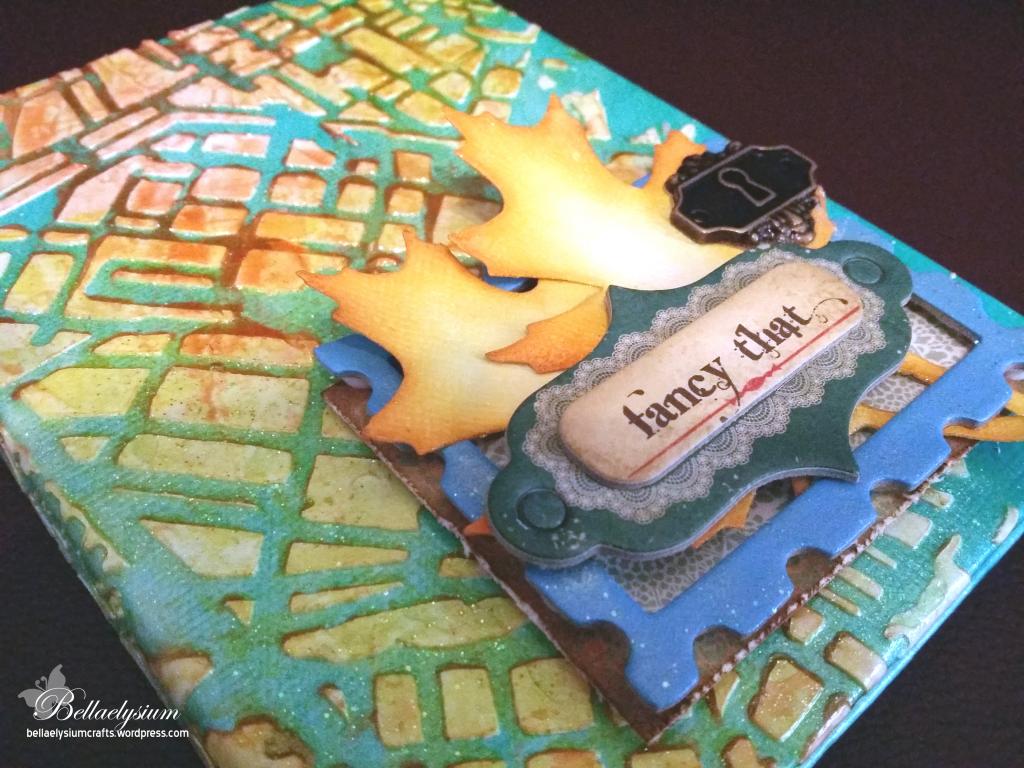
Close Up look
So far, I enjoyed the process and Aida is really patient and nice. Overall, I gave it a big thumb up! 🙂
I went home and made two more books! Will blog about it soon!
MADE WITH LOVE
Orchard Road
313 @ Somerset B2-08
